
Ready to bring your vehicle back to its best? Whether you are new to car repairs or a seasoned DIY fan, restoring your car’s body can be a rewarding project.
This guide is packed with expert techniques and clear, step-by-step instructions to help you fix body car issues with confidence in 2025. You will learn how to assess damage, choose the right tools, repair dents and scratches, and repaint your vehicle for a flawless finish.
Discover modern strategies, avoid common mistakes, and achieve professional results at home. By the end of this guide, you will know exactly how to tackle any car body challenge and restore your ride’s shine.
Understanding Car Body Damage: Types and Assessment
When you want to fix body car damage, knowing what you’re dealing with is the first step. Car body issues come in many forms, and each affects repair choices and results. Let’s break down the most common types you’ll encounter.
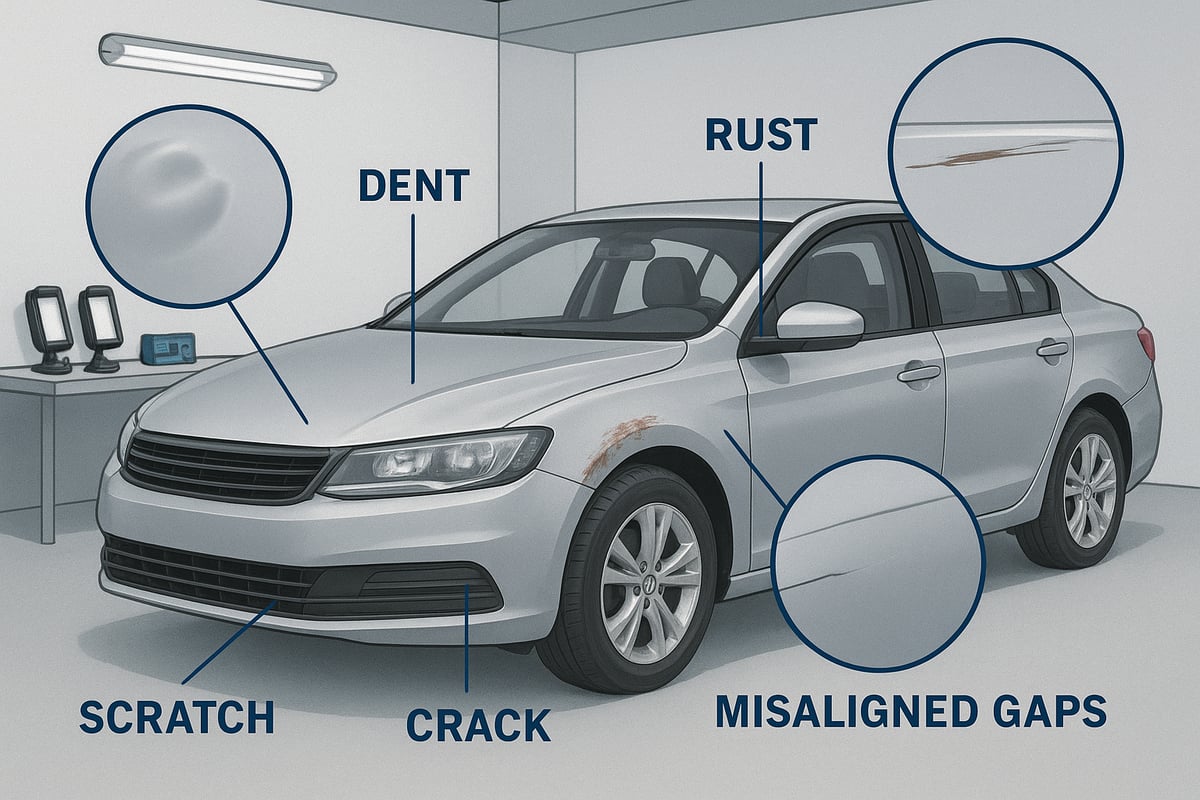
Common Types of Car Body Damage
Car owners often need to fix body car problems like:
- Dents: Caused by impacts from other vehicles, hail, or objects. They range from shallow to deep and may affect just the surface or underlying structure.
- Scratches: Surface-level or deep marks, often from keys, branches, or minor scrapes.
- Rust: Starts as small spots, usually from exposed metal, and can spread quickly if not treated.
- Cracks: Found in plastic bumpers or panels after a collision. These weaken the area and can worsen over time.
- Panel Misalignment: Gaps or unevenness where doors, hoods, or bumpers meet the frame. This can signal hidden damage underneath.
Each type of damage affects how you approach the fix body car process. For instance, a simple scratch may be a quick touch-up, while rust or misalignment might require more advanced tools.
Why Accurate Damage Assessment Matters
Before you begin to fix body car issues, a careful assessment saves time, money, and frustration. Surface damage is easy to spot, but hidden problems—like structural bends or paint cracks—often go unnoticed.
Missing these can lead to poor repairs, recurring rust, or even safety risks. For example, a small dent on a side panel might hide a deeper frame issue. Thorough inspection ensures you catch all problems before starting repairs.
DIY vs Professional Evaluation and Key Assessment Tools
You might wonder when it’s safe to fix body car damage yourself. For minor scratches, shallow dents, or small rust spots, DIY is often possible with the right knowledge and tools. However, deep creases, cracks, or panel misalignment may need an expert’s eye.
Complexity depends on:
- Location: Damage on curves or near seams is harder to repair.
- Depth: Deeper dents or rust require more work.
- Material: Steel, aluminum, and plastic need different approaches.
- Underlying Structure: If the frame or safety systems are affected, professional help is a must.
Here’s a quick look at essential assessment tools:
| Tool | Purpose |
|---|---|
| Inspection light | Reveals surface flaws and paint issues |
| Paint depth gauge | Measures paint thickness for consistency |
| Panel gap ruler | Checks alignment between panels |
Competitors often point out that many people try to fix body car damage without realizing there’s more beneath the surface. That’s why a thorough inspection matters.
Industry Data and Final Tips
According to Collision repair industry statistics, over 60% of minor collisions result in hidden structural or paint damage. This highlights the need for careful checks before any fix body car project.
Remember, catching all types of damage early makes repairs smoother and results longer-lasting. Invest time in assessment, use the right tools, and don’t hesitate to consult a professional for complex issues.
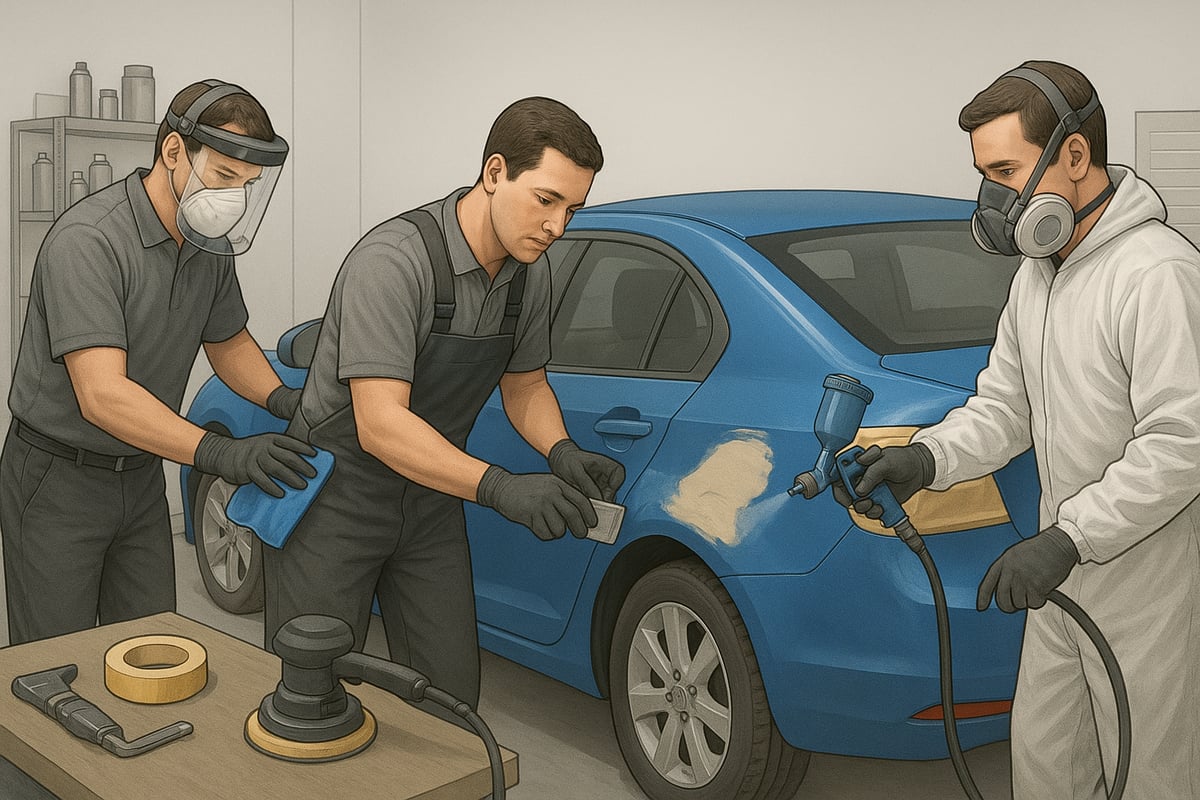
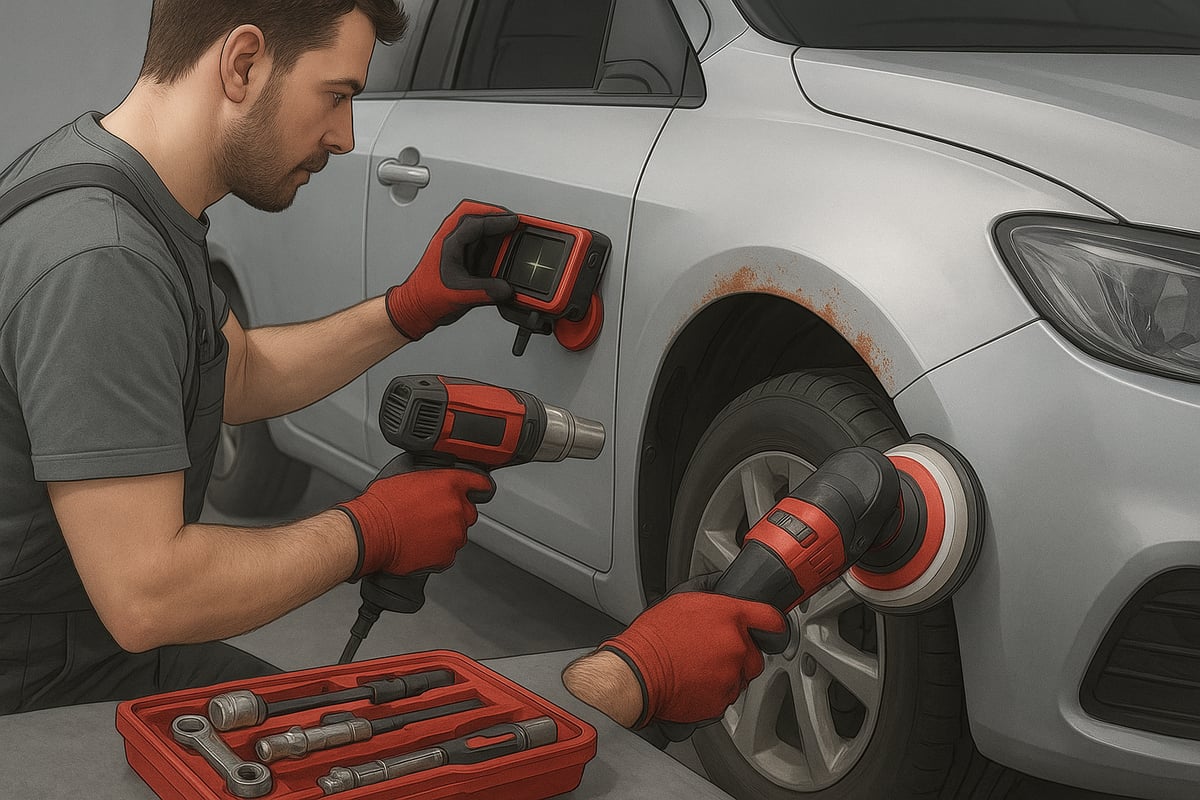
Essential Tools and Materials for Car Body Repair
Having the right tools and materials is the foundation for any successful fix body car project. Whether you are a newcomer or have years of experience, assembling the correct equipment ensures your repairs are safe, efficient, and produce professional results.
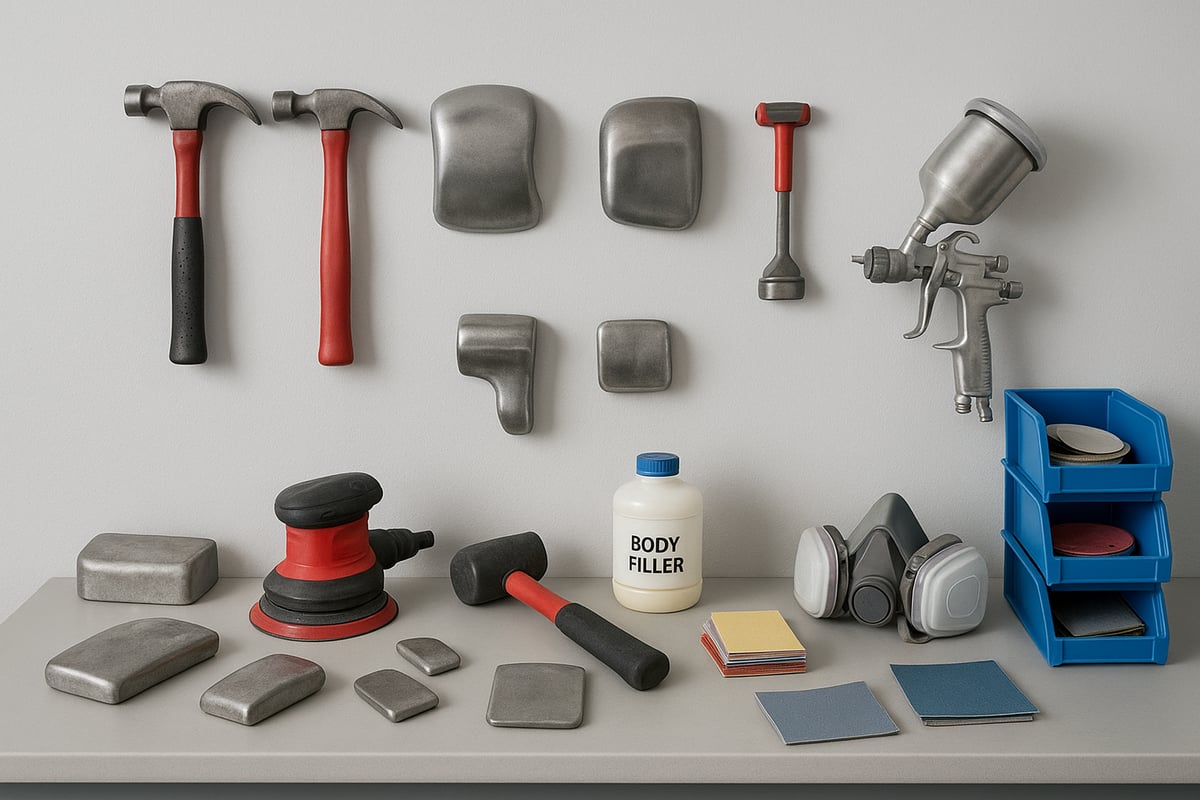
Must-Have Tools for Every Fix Body Car Project
To fix body car issues efficiently, you need a range of specialized tools. At the core are body hammers and dollies, which shape and smooth metal panels. Sanders, both manual and powered, help prep surfaces and remove paint or rust. Dent pullers are key for restoring panel surfaces, and paint sprayers ensure even, professional coatings.
It is also smart to invest in inspection lights, panel gap rulers, and paint depth gauges for accurate assessments. For those handling minor dents, consider learning about Paintless dent repair techniques, which can save time and preserve factory finishes. Always include safety gear such as gloves, respirators, and goggles to protect yourself throughout the repair.
Key Materials Needed for Quality Repairs
A successful fix body car repair relies on high-quality materials. Body fillers are used to smooth out dents and imperfections. Choose the right primer for your car’s surface—metal, plastic, or aluminum. Automotive paints should match your vehicle’s color code exactly, while clear coats provide protection and shine.
Sandpaper in various grits (from coarse to fine) is essential for smoothing surfaces at every stage. Rust converters stop corrosion in its tracks, making them vital for older vehicles or those exposed to harsh conditions. Selecting products designed for your specific make and year improves adhesion and finish, reducing the likelihood of future issues.
Safety Essentials and Cost-Saving Advice
Safety should never be overlooked during a fix body car project. Always wear personal protective equipment like gloves, masks, and eye protection. Make sure your workspace is well-ventilated to avoid inhaling fumes from paints and solvents. Keep fire extinguishers nearby and store flammable materials safely.
Looking to save money? Consider renting expensive tools such as paint sprayers or dent pullers instead of buying them outright. Many auto parts stores offer rental programs, which is especially helpful for occasional DIYers. Investing in quality tools, even if rented, can reduce your repair time by up to 30 percent.
Choosing and Maintaining Your Repair Toolkit
Choosing the right toolkit for your fix body car needs depends on your experience level. Beginners may start with a basic set including a hammer, dolly, sanding block, and a respirator. Advanced users might add pneumatic sanders, a full paint system, and digital measuring tools.
| Toolkit Type | Recommended Tools | Ideal User |
|---|---|---|
| Beginner | Hammer, dolly, sanding block, respirator | First-timers |
| Advanced | Pneumatic sander, paint sprayer, gauges | Experienced DIYers |
Proper maintenance of your tools ensures longevity. Clean tools after every use, store them in a dry, organized space, and inspect for wear regularly. Well-cared-for tools deliver better results and keep your fix body car projects running smoothly.
Step-by-Step Car Body Repair Process
Restoring your vehicle’s appearance starts with a clear, organized approach. Whether you want to fix body car issues yourself or just understand the process, following these steps ensures professional quality results at home. Each stage builds the foundation for a flawless finish, so take your time and enjoy the transformation.
Preparation: Cleaning and Surface Prep
Every successful fix body car project begins with a thorough cleaning. Start by washing the entire vehicle to remove dirt, road grime, and grease. Use a degreaser for stubborn spots, especially in repair areas. Dry the surface completely with a microfiber towel.
Inspect the area you plan to repair. Look for contaminants like tree sap or tar, and use specialized cleaners if needed. This step prevents problems later on.
Next, carefully mask off trim, glass, and parts not being repaired. Apply automotive masking tape and plastic sheeting to protect these areas from dust, primer, and paint overspray.
Sanding is essential for both adhesion and smoothness. Select the right sandpaper grit: begin with 80-120 grit for removing old paint or rust, then switch to 220-320 grit to feather edges and smooth transitions. Always sand beyond the damaged spot to blend with the original paint.
Neglecting this stage is a common mistake when people try to fix body car issues. Inadequate prep often leads to paint peeling or bubbling. According to industry data, 80% of paint defects result from poor surface preparation. Take your time to clean, mask, and sand thoroughly for the best outcome.
Dent and Scratch Repair Techniques
Now that your surface is ready, it’s time to address dents and scratches. There are several methods to fix body car dents, depending on their size and location. For small, shallow dents, Paintless Dent Repair (PDR) is an excellent option. This technique uses specialized tools to massage the metal back into shape without affecting the paint.
For deeper dents, body filler is often needed. Mix the filler according to package instructions and apply it in thin layers with a spreader. Let each layer cure completely before sanding it smooth with 180-320 grit paper. The goal is a seamless transition between the repair and the original panel.
When it comes to scratches, start with wet sanding using 1500-2000 grit sandpaper. This helps level the scratch with the surrounding area. After sanding, clean the surface again, then use touch-up paint or a blending technique to match the color. For best results, blend a small area around the scratch to avoid visible lines.
If you’re unsure whether to repair or replace a panel, consider the depth and location. Small dents on flat panels are usually DIY-friendly, but sharp creases or damage near edges may require advanced tools or professional help.
Modern technology is making it easier to detect hidden dents. For example, Minor dent detection using deep learning is helping car owners and repairers identify subtle damage that might otherwise be missed.
By following these methods, you can fix body car imperfections with confidence. Always let filler and paint cure fully before moving to the next step.
Priming and Painting for a Flawless Finish
Priming and painting are where your fix body car efforts really shine. Begin by choosing the correct primer: use etching primer for bare metal, plastic primer for bumpers, and regular automotive primer for painted surfaces. Shake or stir the primer well, then apply in light, even coats. Allow each coat to dry completely and sand lightly with 400-600 grit paper for a smooth base.
Color matching is crucial. Find your vehicle’s manufacturer paint code, usually located on the driver’s door jamb or in the owner’s manual. Test the color on a small hidden area or a sample panel to ensure an exact match.
When you’re ready to paint, use a high-quality spray gun or aerosol for small areas. Apply the paint in thin layers, overlapping each pass by about 50%. Let each coat dry before adding the next. Blend the new paint into adjacent panels for a seamless appearance.
After the final color coat dries, apply a clear coat for protection and shine. Use the same technique: light, overlapping layers with proper drying time between coats. Clear coat not only enhances gloss but also protects the paint from UV rays and weather.
Mismatched paint is one of the most common complaints from DIYers trying to fix body car problems. Take your time with color matching and blending for professional-looking results.
Finish by letting everything cure fully, then polish the area with a fine compound and soft cloth. This step removes minor imperfections and reveals a deep, lasting shine.
Advanced Tips for Professional-Quality Repairs
Ready to take your fix body car skills to the next level? Professional-quality repairs are within reach if you use advanced techniques and pay close attention to detail. Let’s explore three essential areas that can make all the difference in achieving seamless, long-lasting results.
Panel Straightening and Alignment
Getting panels perfectly straight and aligned is crucial for a flawless fix body car job. Even a slight misalignment can affect your vehicle’s appearance and safety.
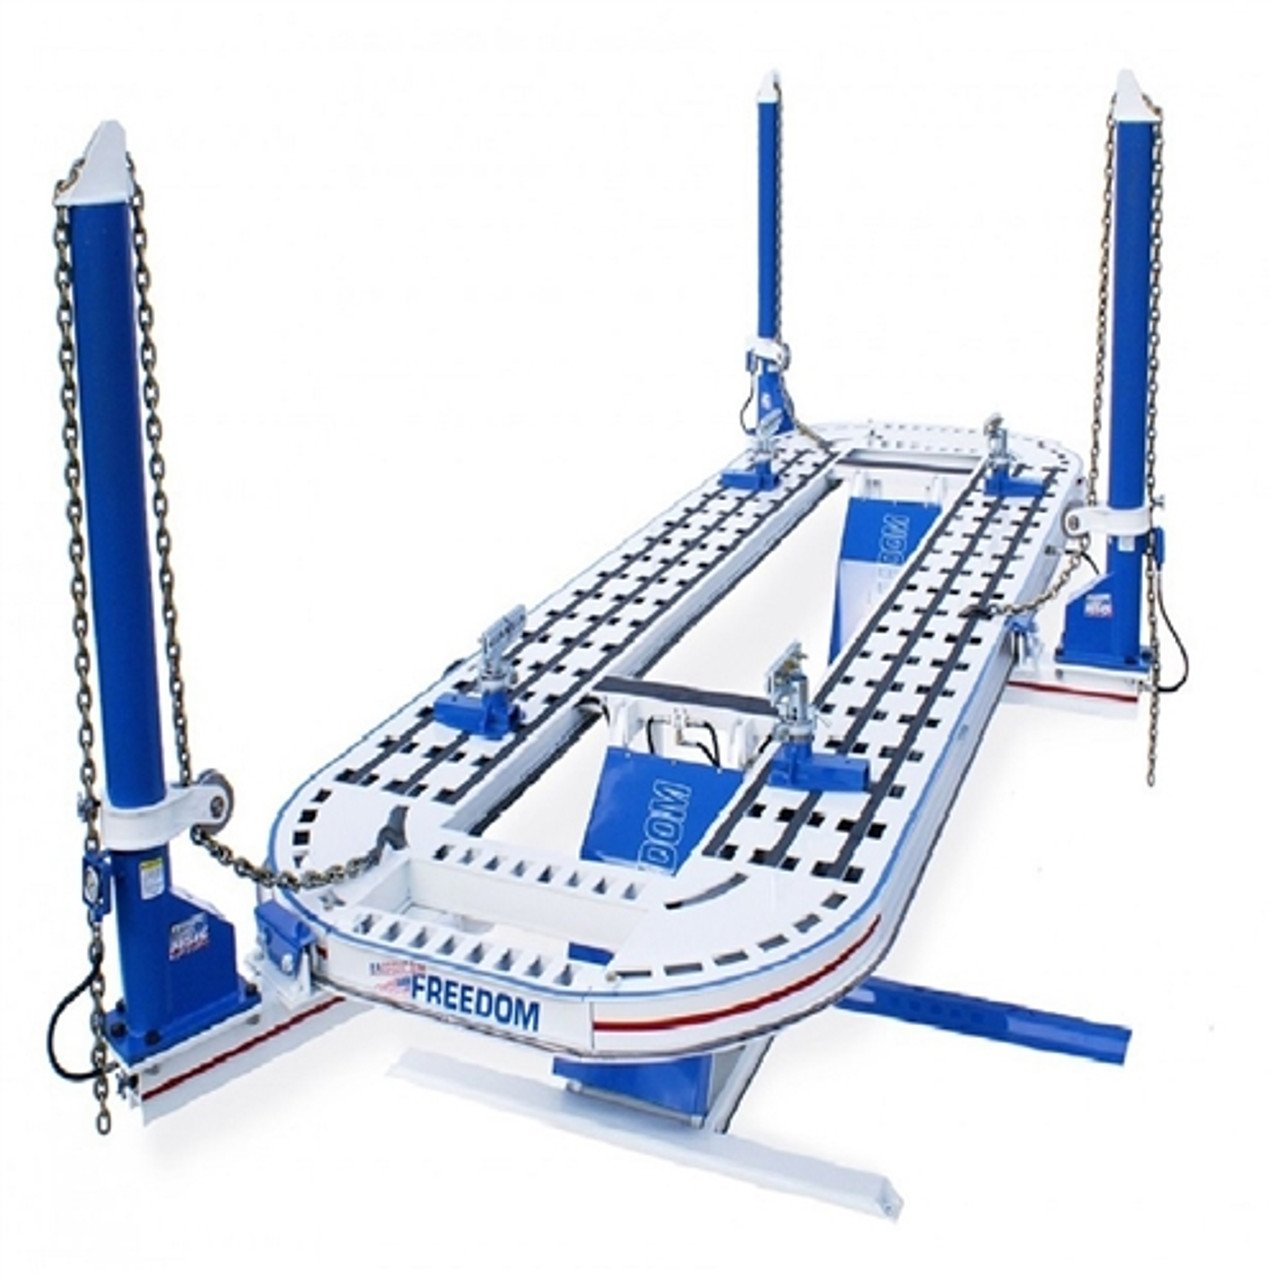
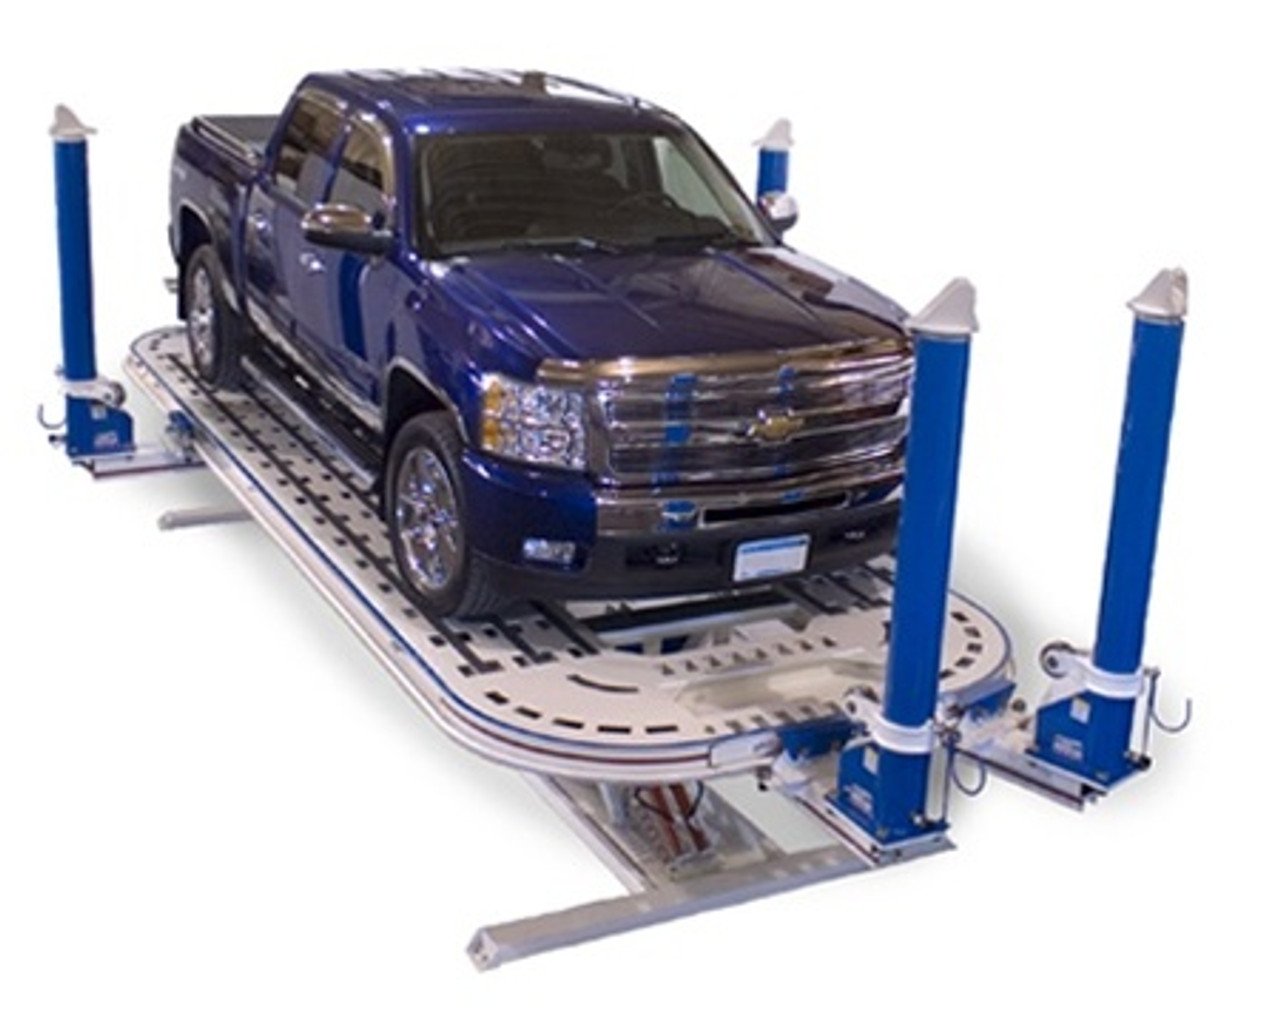
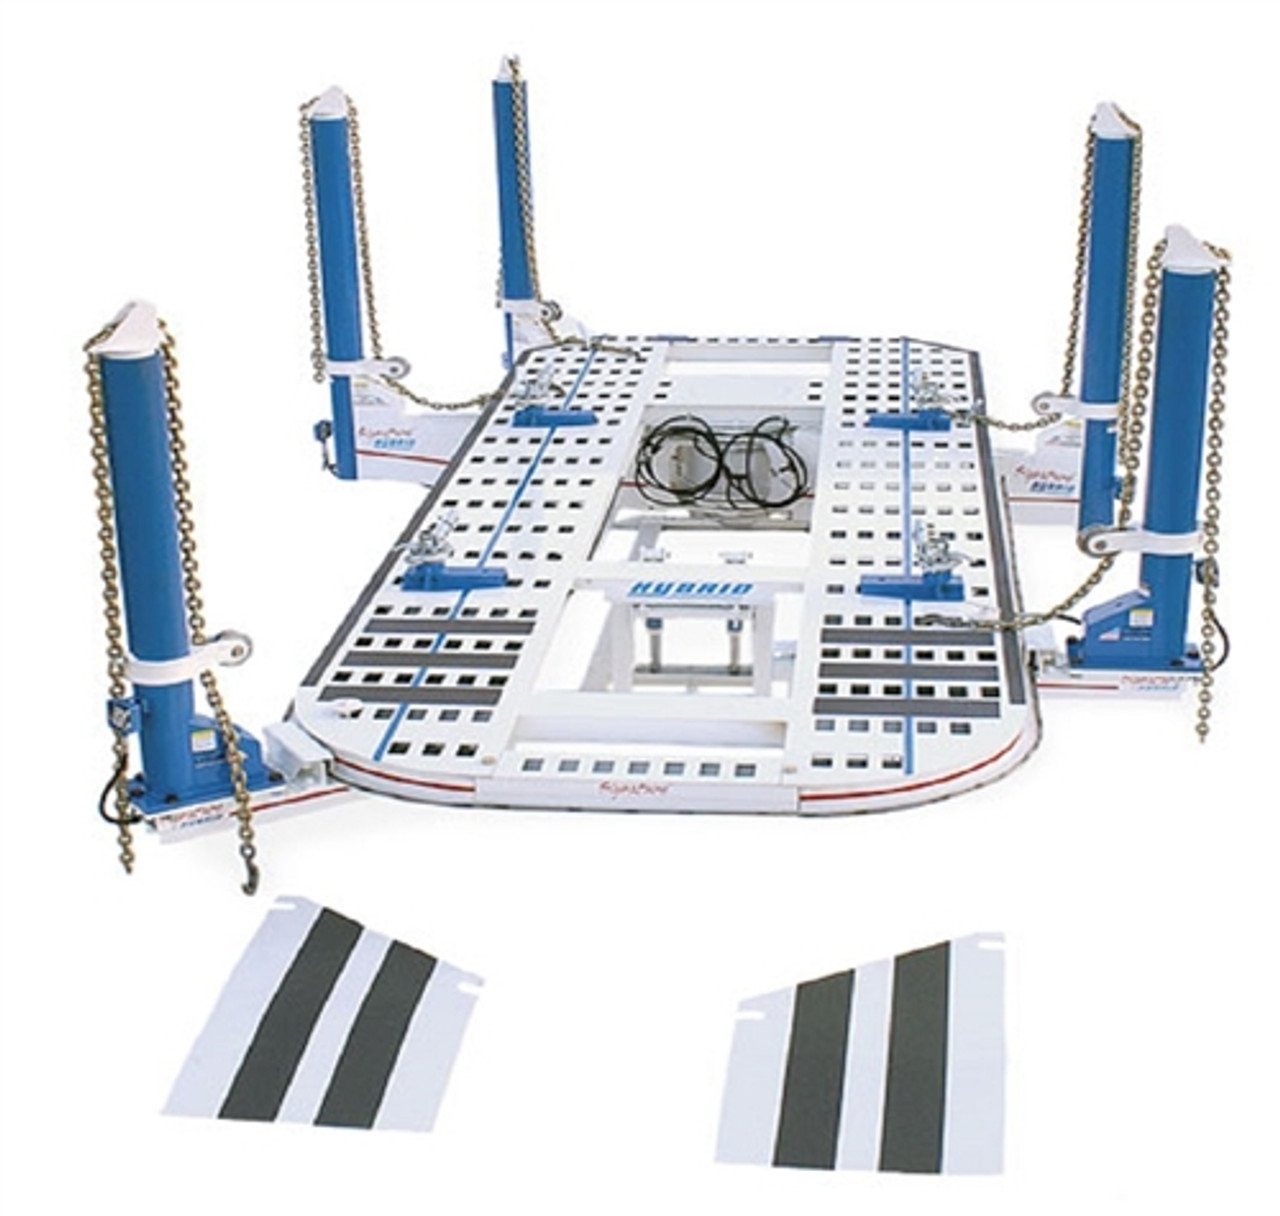
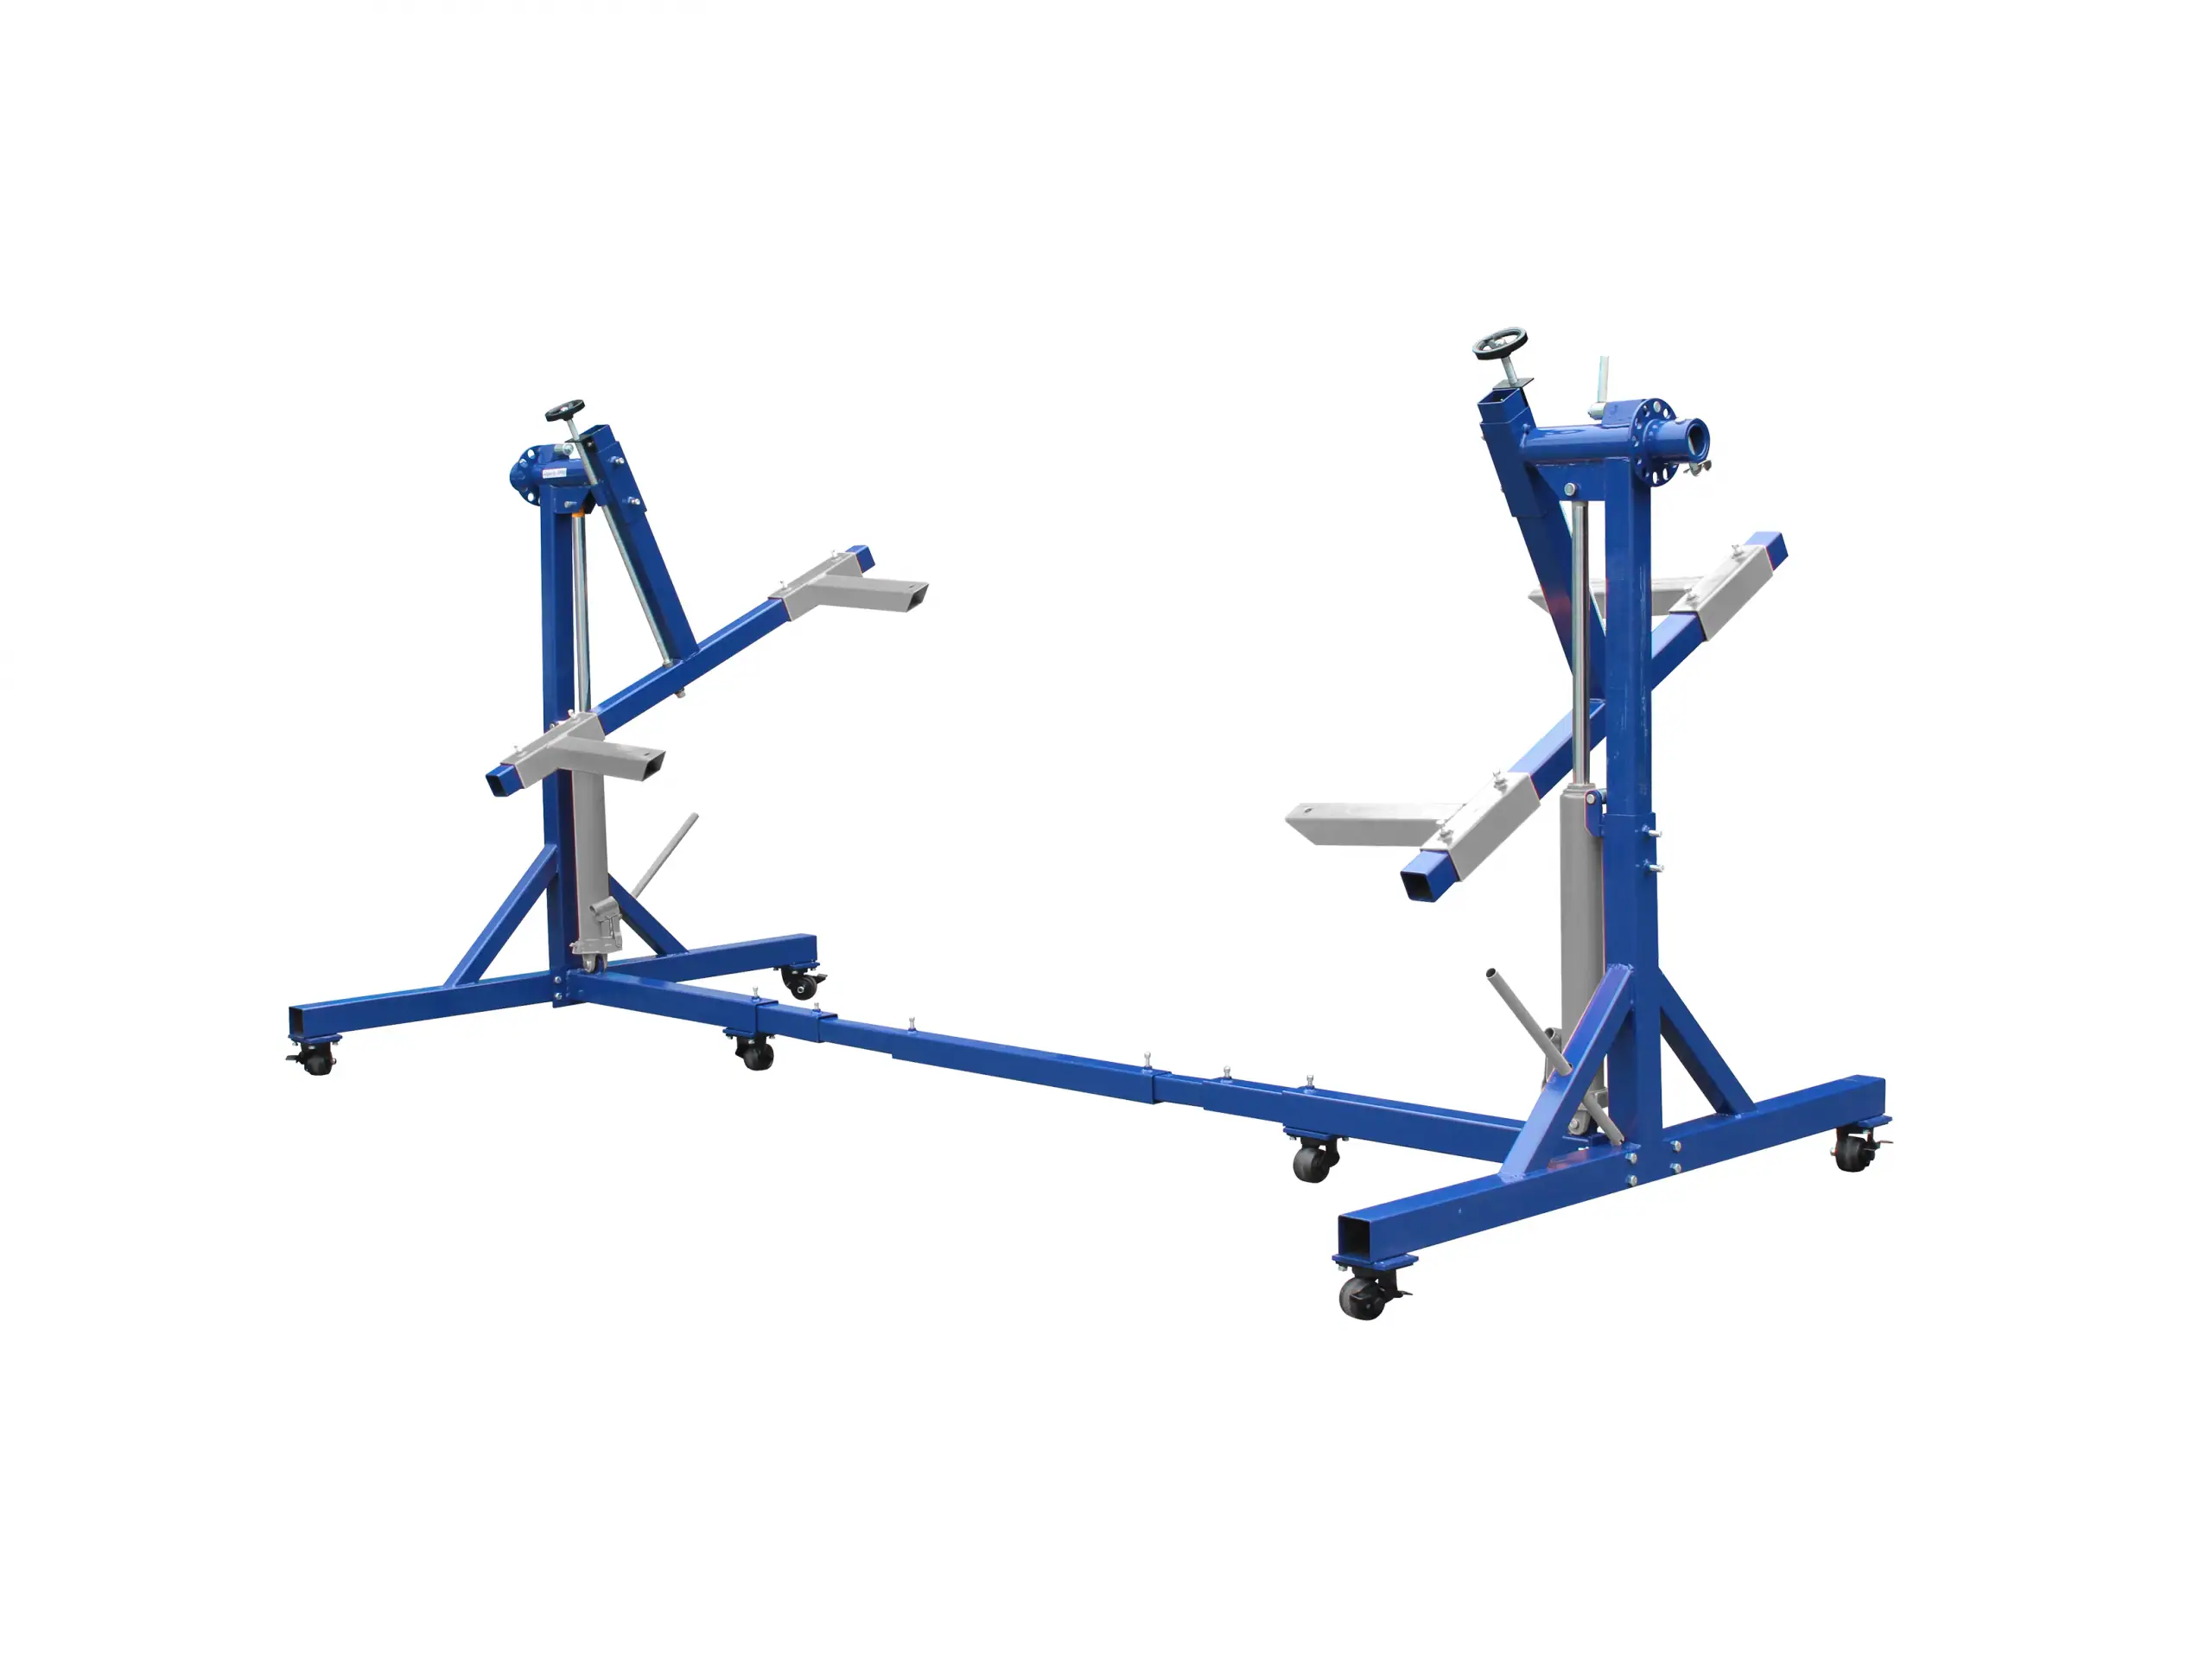
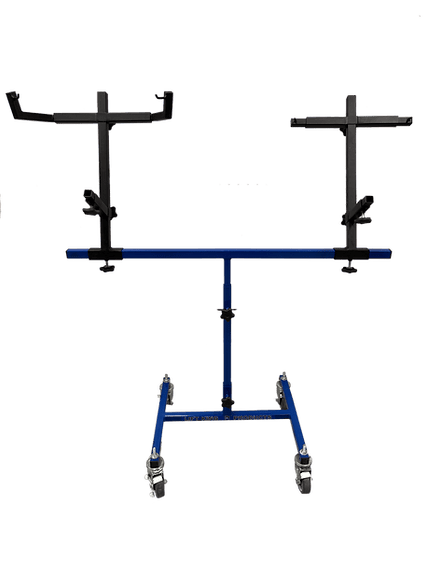
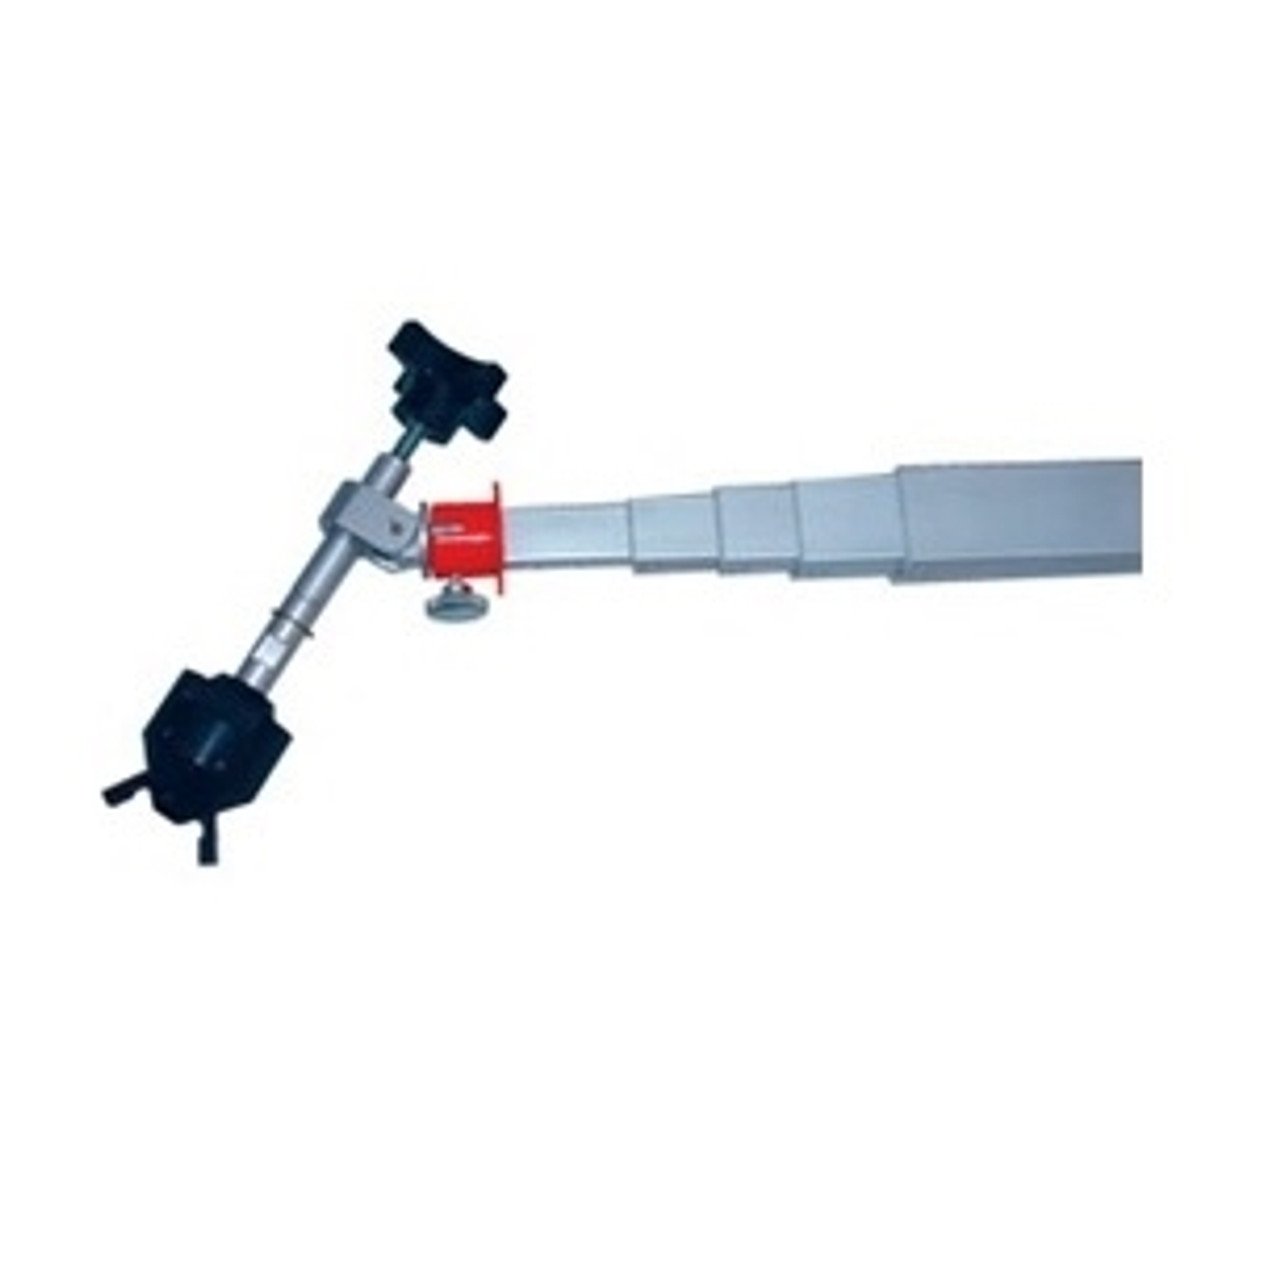
Start by inspecting all panel gaps with a panel gap ruler. If you notice uneven spacing, use gentle pressure and specialized tools like pry bars or a frame machine to adjust the fit. For more complex jobs, professional shops use laser measuring systems to ensure absolute precision.
- Check doors, hoods, and trunk gaps for symmetry.
- Use a straightedge to detect subtle bends or warps.
- Gently adjust with rubber mallets or panel beaters, working slowly to prevent overcorrection.
For example, if a door doesn’t close smoothly after a minor collision, loosening the hinge bolts and realigning the panel before tightening them can restore a factory finish. Remember, perfect alignment not only looks better but also prevents wind noise and water leaks.
Industry experts highlight that even small misalignments can reduce resale value. If you’re considering a career or want to learn more about professional techniques, the Automotive body repairers occupational outlook provides insight into the skills and tools used by experts.
Rust Removal and Prevention
Rust can quickly turn a small fix body car project into a bigger challenge. The key is to act fast and use the right removal method for the rust type.
First, identify whether you’re dealing with surface rust or deeper corrosion. For light surface rust, sandpaper or a wire brush often does the trick. For deeper rust, use a rust converter or a chemical remover designed for automotive use.
- Mechanical removal: Sanding, grinding, or wire brushing.
- Chemical removal: Applying rust dissolvers or converters.
- Protection: After removal, apply a rust-inhibiting primer and finish with quality paint.
Here’s a quick comparison:
| Rust Type | Removal Method | Prevention Step |
|---|---|---|
| Surface Rust | Sand, brush | Primer, paint |
| Deep Rust | Grind, chemical | Rust converter, seal |
For example, restoring a rusted wheel arch may require cutting out badly damaged metal, treating the area, then sealing it. Data shows untreated rust can spread and compromise structure within a year, so always finish with a protective coating to safeguard your fix body car results.
Blending and Polishing for Seamless Results
Achieving a professional shine is the final step in a successful fix body car repair. Blending and polishing help ensure your work is invisible and matches the original finish.
Begin with wet sanding, using fine-grit sandpaper to smooth transitions between new and old paint. Always keep the surface wet to avoid scratches. After sanding, use an orbital polisher and a quality buffing compound to restore gloss.
- Wet sand repaired areas with 1500-2000 grit sandpaper.
- Polish with a foam pad and fine compound.
- Clean panels thoroughly between steps to avoid swirl marks.
Blending is especially important when repainting partial panels. Spray overlapping layers slightly beyond the repair zone, then feather the edges. This technique helps the new paint merge with the old, making repairs virtually undetectable.
For example, blending a repaired fender with the rest of the bodywork can prevent visible lines or mismatched color. Polishing after painting removes minor imperfections and makes the surface glass-smooth. Many experts note that proper polishing can even hide small flaws, making your fix body car work look showroom-ready.
Remember, patience and the right tools are your best allies. With these advanced techniques, your next fix body car project can achieve results that rival professional shops.
Common Mistakes and How to Avoid Them
Tackling a fix body car project can be rewarding, but even experienced DIYers fall into common traps. Avoiding costly errors is key to achieving a professional finish and protecting your vehicle’s value.
1. Overfilling with Body Filler
It’s tempting to use extra filler to smooth out dents quickly, but this often leaves noticeable bumps or uneven areas. Always apply body filler in thin layers and sand between applications for a seamless fix body car outcome.
2. Skipping Surface Preparation
Surface prep is not optional. Failing to clean, sand, and degrease before painting leads to poor adhesion and flaking paint. According to industry data, 80% of paint defects trace back to inadequate prep. Take your time to properly prepare every surface in your fix body car project.
3. Rushing Drying Times
Patience pays off in car body repair. If you rush through drying times between coats of primer or paint, you risk bubbling, cracking, or uneven finishes. Always follow product instructions for drying and curing to ensure your fix body car repair lasts.
4. Inadequate Masking and Overspray
Neglecting to mask off trim, glass, or adjacent panels can result in unsightly overspray and extra cleanup. Use quality masking tape and paper to protect all areas not being painted. This small step saves hours of correction later.
5. Using Incorrect Paint Codes
Color matching is crucial. Using the wrong paint code or failing to test your color can create mismatched panels and an unprofessional look. Always double-check your vehicle’s manufacturer code and test paint on a sample before applying it to your fix body car.
6. Ignoring Safety Protocols
Skipping personal protective equipment (PPE) or working in poorly ventilated areas can be dangerous. Wear gloves, goggles, and a respirator. Ensure your workspace is well-ventilated to avoid health risks while working on your fix body car.
Common Mistakes and Prevention Table
| Mistake | Impact | How to Avoid |
|---|---|---|
| Overfilling body filler | Uneven surface, extra sanding | Thin layers, sand between |
| Poor surface prep | Paint defects, flaking | Clean, sand, degrease thoroughly |
| Rushing drying | Bubbling, cracks | Follow drying times strictly |
| Inadequate masking | Overspray, mess | Mask all non-painted areas |
| Wrong paint code | Color mismatch | Use correct code, test first |
| Ignoring safety | Health hazards | Always use PPE, ventilate area |
Case Study:
A DIY enthusiast attempted a fix body car repair on a scratched door. He skipped surface cleaning, used the wrong color code, and didn’t allow proper drying time. The result? Peeling paint, mismatched color, and a surface that needed complete rework. This example shows how small shortcuts can lead to big setbacks.
According to recent studies, about 40% of DIY fix body car projects require rework because of preventable mistakes. Taking time to plan, follow each step, and invest in the right tools pays off.
To further boost your success, check out this comprehensive car body repair checklist before you start your next fix body car task. Avoiding these pitfalls will help you achieve smooth, lasting results and keep your vehicle looking its best.
When to Seek Professional Help and What to Expect
Restoring your vehicle with a fix body car approach can be rewarding, but not every repair is suited for DIY. Knowing when to consult a professional ensures your car's safety and appearance remain top-notch.
Signs You Need Professional Help
Some fix body car issues are too complex or risky for home repairs. Major structural damage, like bent frames or compromised crumple zones, should always be left to experts.
If your car's airbag has deployed, or if advanced sensors and electronics are involved, professional equipment and knowledge are essential. Similarly, severe rust or panels that cannot be aligned by hand signal the need for expert attention.
Choosing the Right Auto Body Shop
Selecting the right shop is vital for a successful fix body car project. Look for certifications such as I-CAR or ASE, which show technicians are properly trained.
Check reviews on trusted platforms and ask about warranties on both parts and labor. A reputable shop will be transparent about their process and provide clear written estimates. For more details, visit the Automotive Service Association for guidance on choosing certified professionals.
What to Expect from Professional Repairs
When you bring your car in for a fix body car service, expect a thorough assessment. Professionals use computerized measuring systems and advanced paint-matching technology to ensure precision.
You’ll receive a detailed estimate, and the shop can help you navigate insurance claims. Repair timelines vary, but most minor work is completed within a few days. Complex jobs may take longer, especially if specialized parts are needed.
DIY vs Professional: Outcome and Value
While a fix body car DIY repair can save money upfront, professionals offer lasting results. Their repairs often come with guarantees and use equipment unavailable to most home mechanics.
According to recent statistics, professional repairs can boost your vehicle’s resale value by up to 20 percent. Comparing outcomes, DIY repairs may look fine at first but could hide unseen issues, while a shop ensures both safety and aesthetics are fully restored.
Maintenance and Prevention: Keeping Your Car’s Body in Top Shape
Keeping your vehicle looking great is just as important as knowing how to fix body car issues when they arise. With regular care and smart habits, you can prevent most common damage, keep repairs to a minimum, and protect your investment for years.
Regular Inspection and Cleaning Routines
Routine cleaning is the foundation for keeping your fix body car in top condition. Frequent washing removes dirt, salt, and contaminants that can eat away at paint and cause rust. A clean surface makes it easier to spot any chips, scratches, or dents before they become bigger problems.
Inspect your fix body car at least once a month. Look for fresh chips, scratches, or small dents, especially after harsh weather or parking in busy areas. Early detection means you can handle repairs quickly, saving time and money.
Here’s a simple monthly checklist to follow:
| Task | Frequency | Notes |
|---|---|---|
| Full wash & dry | Monthly | Use pH-balanced car shampoo |
| Paint inspection | Monthly | Check for chips or scratches |
| Undercarriage rinse | Seasonally | Especially after winter |
| Tire and wheel cleaning | Monthly | Prevents brake dust buildup |
| Wax or sealant application | Quarterly | Adds extra protection |
Regular cleaning and inspection can extend your paint’s lifespan by 3 to 5 years. For best results, use microfiber towels and gentle products designed for automotive finishes.
Protective Coatings and Modern Solutions
Modern coatings are a game changer for anyone looking to fix body car issues before they start. Ceramic coatings, waxes, and paint protection films all provide a shield against UV rays, bird droppings, and road debris.
Applying a ceramic coating to your fix body car is a smart way to reduce how often you need to polish or touch up paint. These coatings create a hydrophobic layer, making it harder for dirt and grime to stick. For DIY application, follow manufacturer instructions closely and work in a dust-free area for best results.
If you want a professional-grade finish, consider getting help from a certified detailer. For more tips on choosing the right ceramic coating, check out this detailed guide on automotive ceramic coatings.
Industry experts agree that protective coatings can significantly cut down on the frequency and cost of repairs, keeping your vehicle looking newer for longer.
Safe Driving and Parking Practices
Changing your driving and parking habits can dramatically reduce the need to fix body car problems. Simple actions like parking further from store entrances, avoiding tight spaces, and steering clear of shopping cart zones can prevent most minor dings and scratches.
Practice defensive driving to lower your risk of collisions. Slow down in crowded lots, use your mirrors, and park in well-lit areas. When possible, choose spots next to curbs or away from high-traffic zones.
Did you know that 25% of minor body damage happens in parking lots? By being mindful about where and how you park, you protect your car’s finish and save on future repairs.
Glossary of Car Body Repair Terms
Not sure what some of the terms in this fix body car guide mean? Here’s a handy glossary to help you feel confident as you tackle repairs.
PDR (Paintless Dent Repair): A method for removing minor dents without paintwork.
Primer: A base coat applied before painting to improve adhesion.
Clear Coat: The top transparent layer that adds gloss and protection.
Feathering: Smoothing paint edges for seamless blending.
Panel Alignment: Adjusting body panels so gaps are straight and even.
Body Filler: Material used to fill dents and surface flaws.
Sanding: Smoothing surfaces with abrasive paper for prep or finish.
Masking: Protecting areas from overspray during painting.
Rust Converter: Chemical that stops rust and prevents spread.
Refer to this glossary whenever you need clarity on car repair terms.
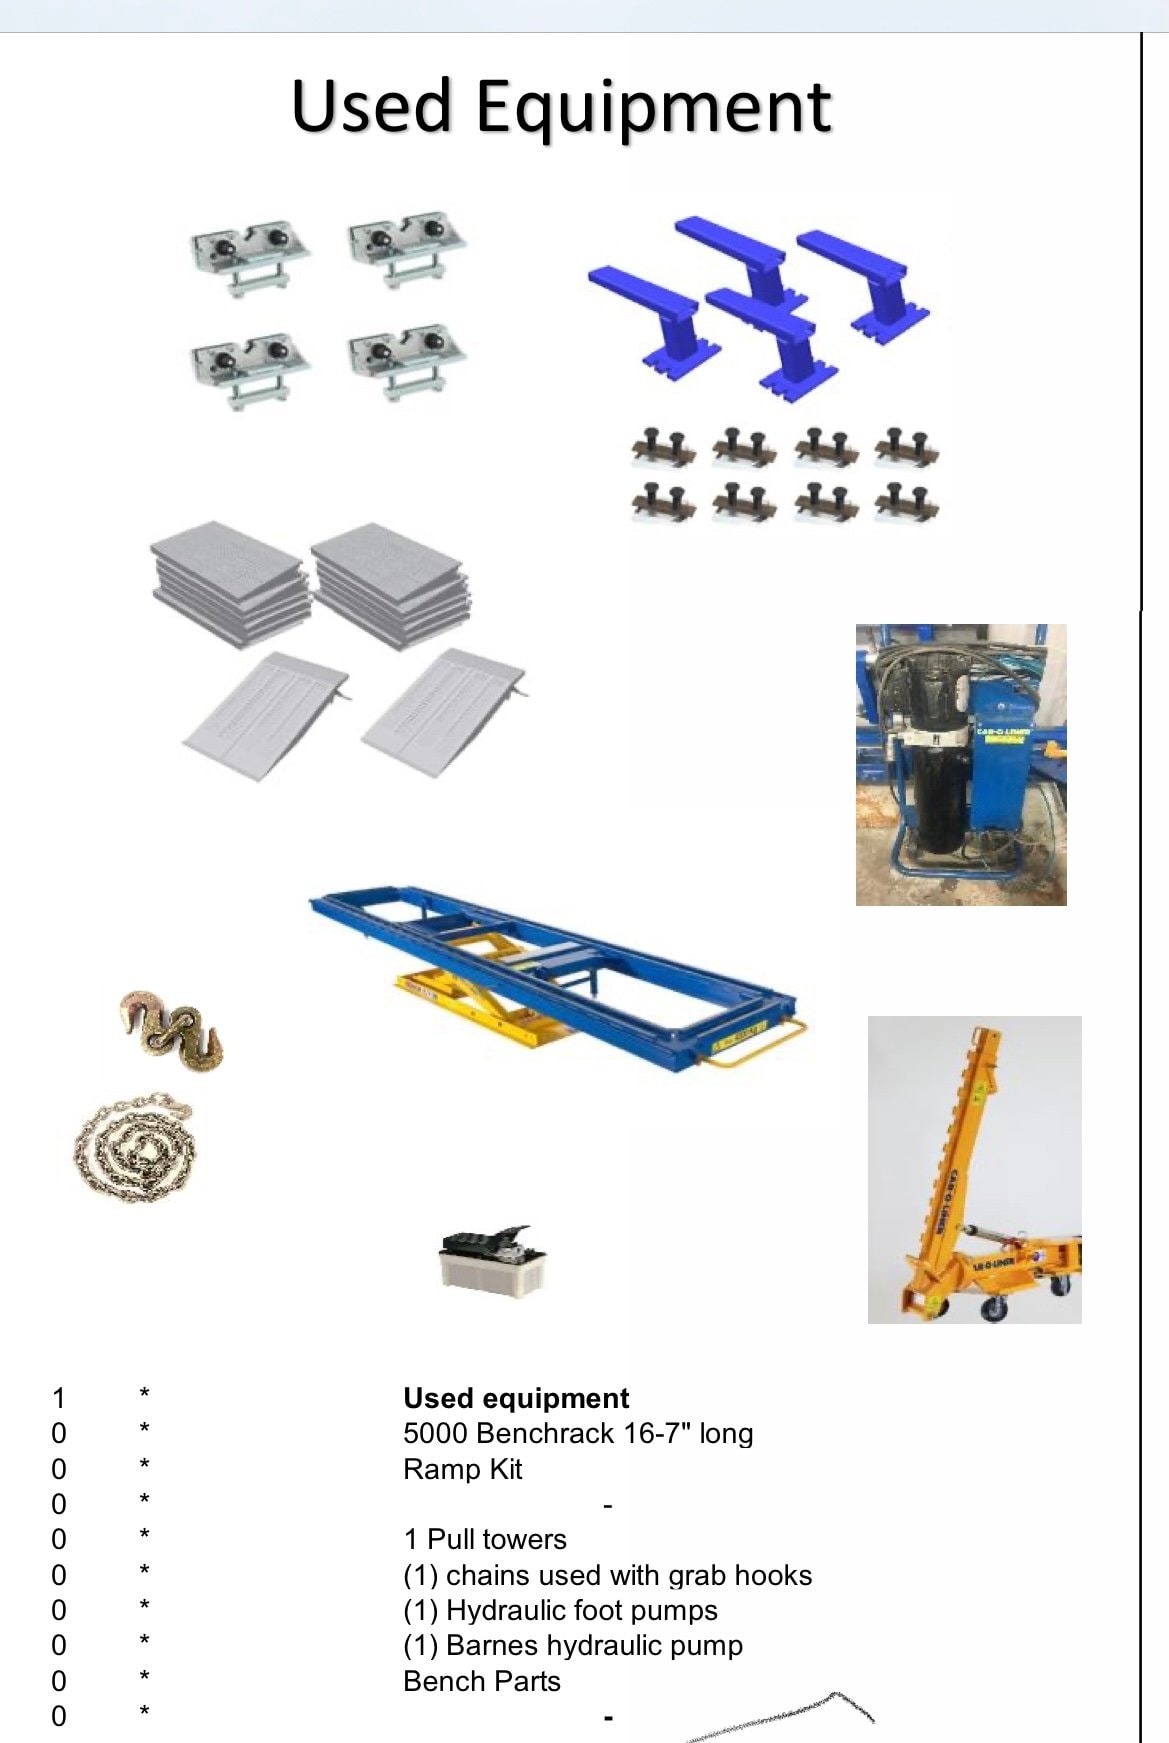
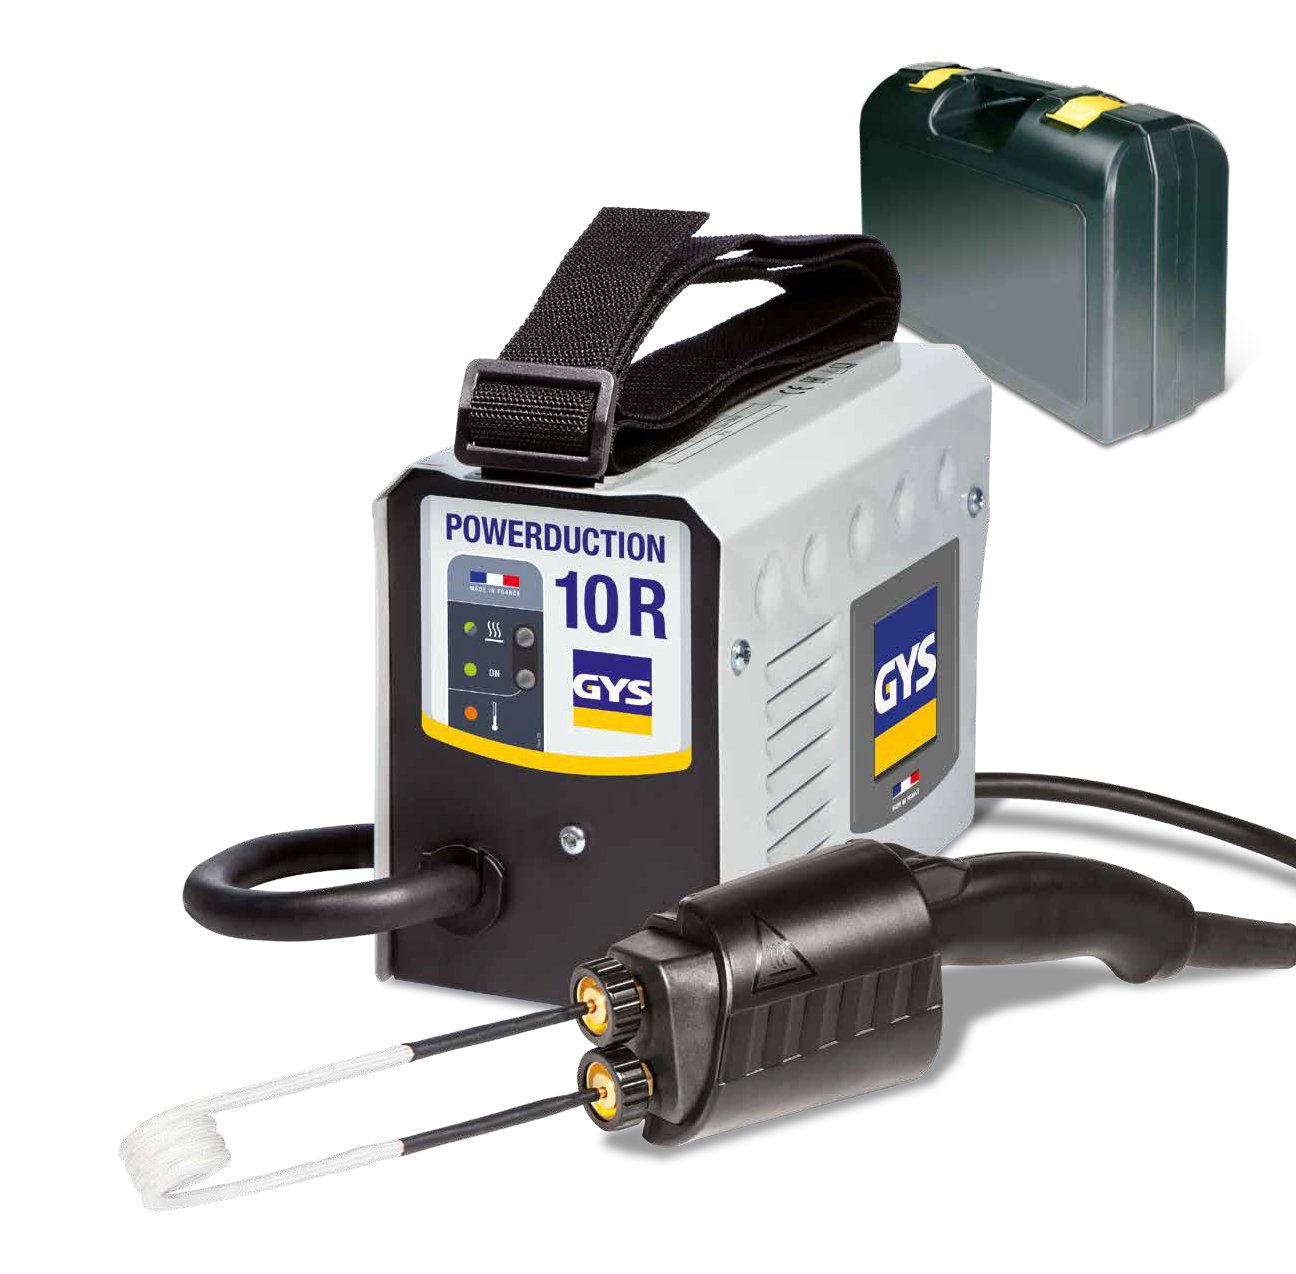
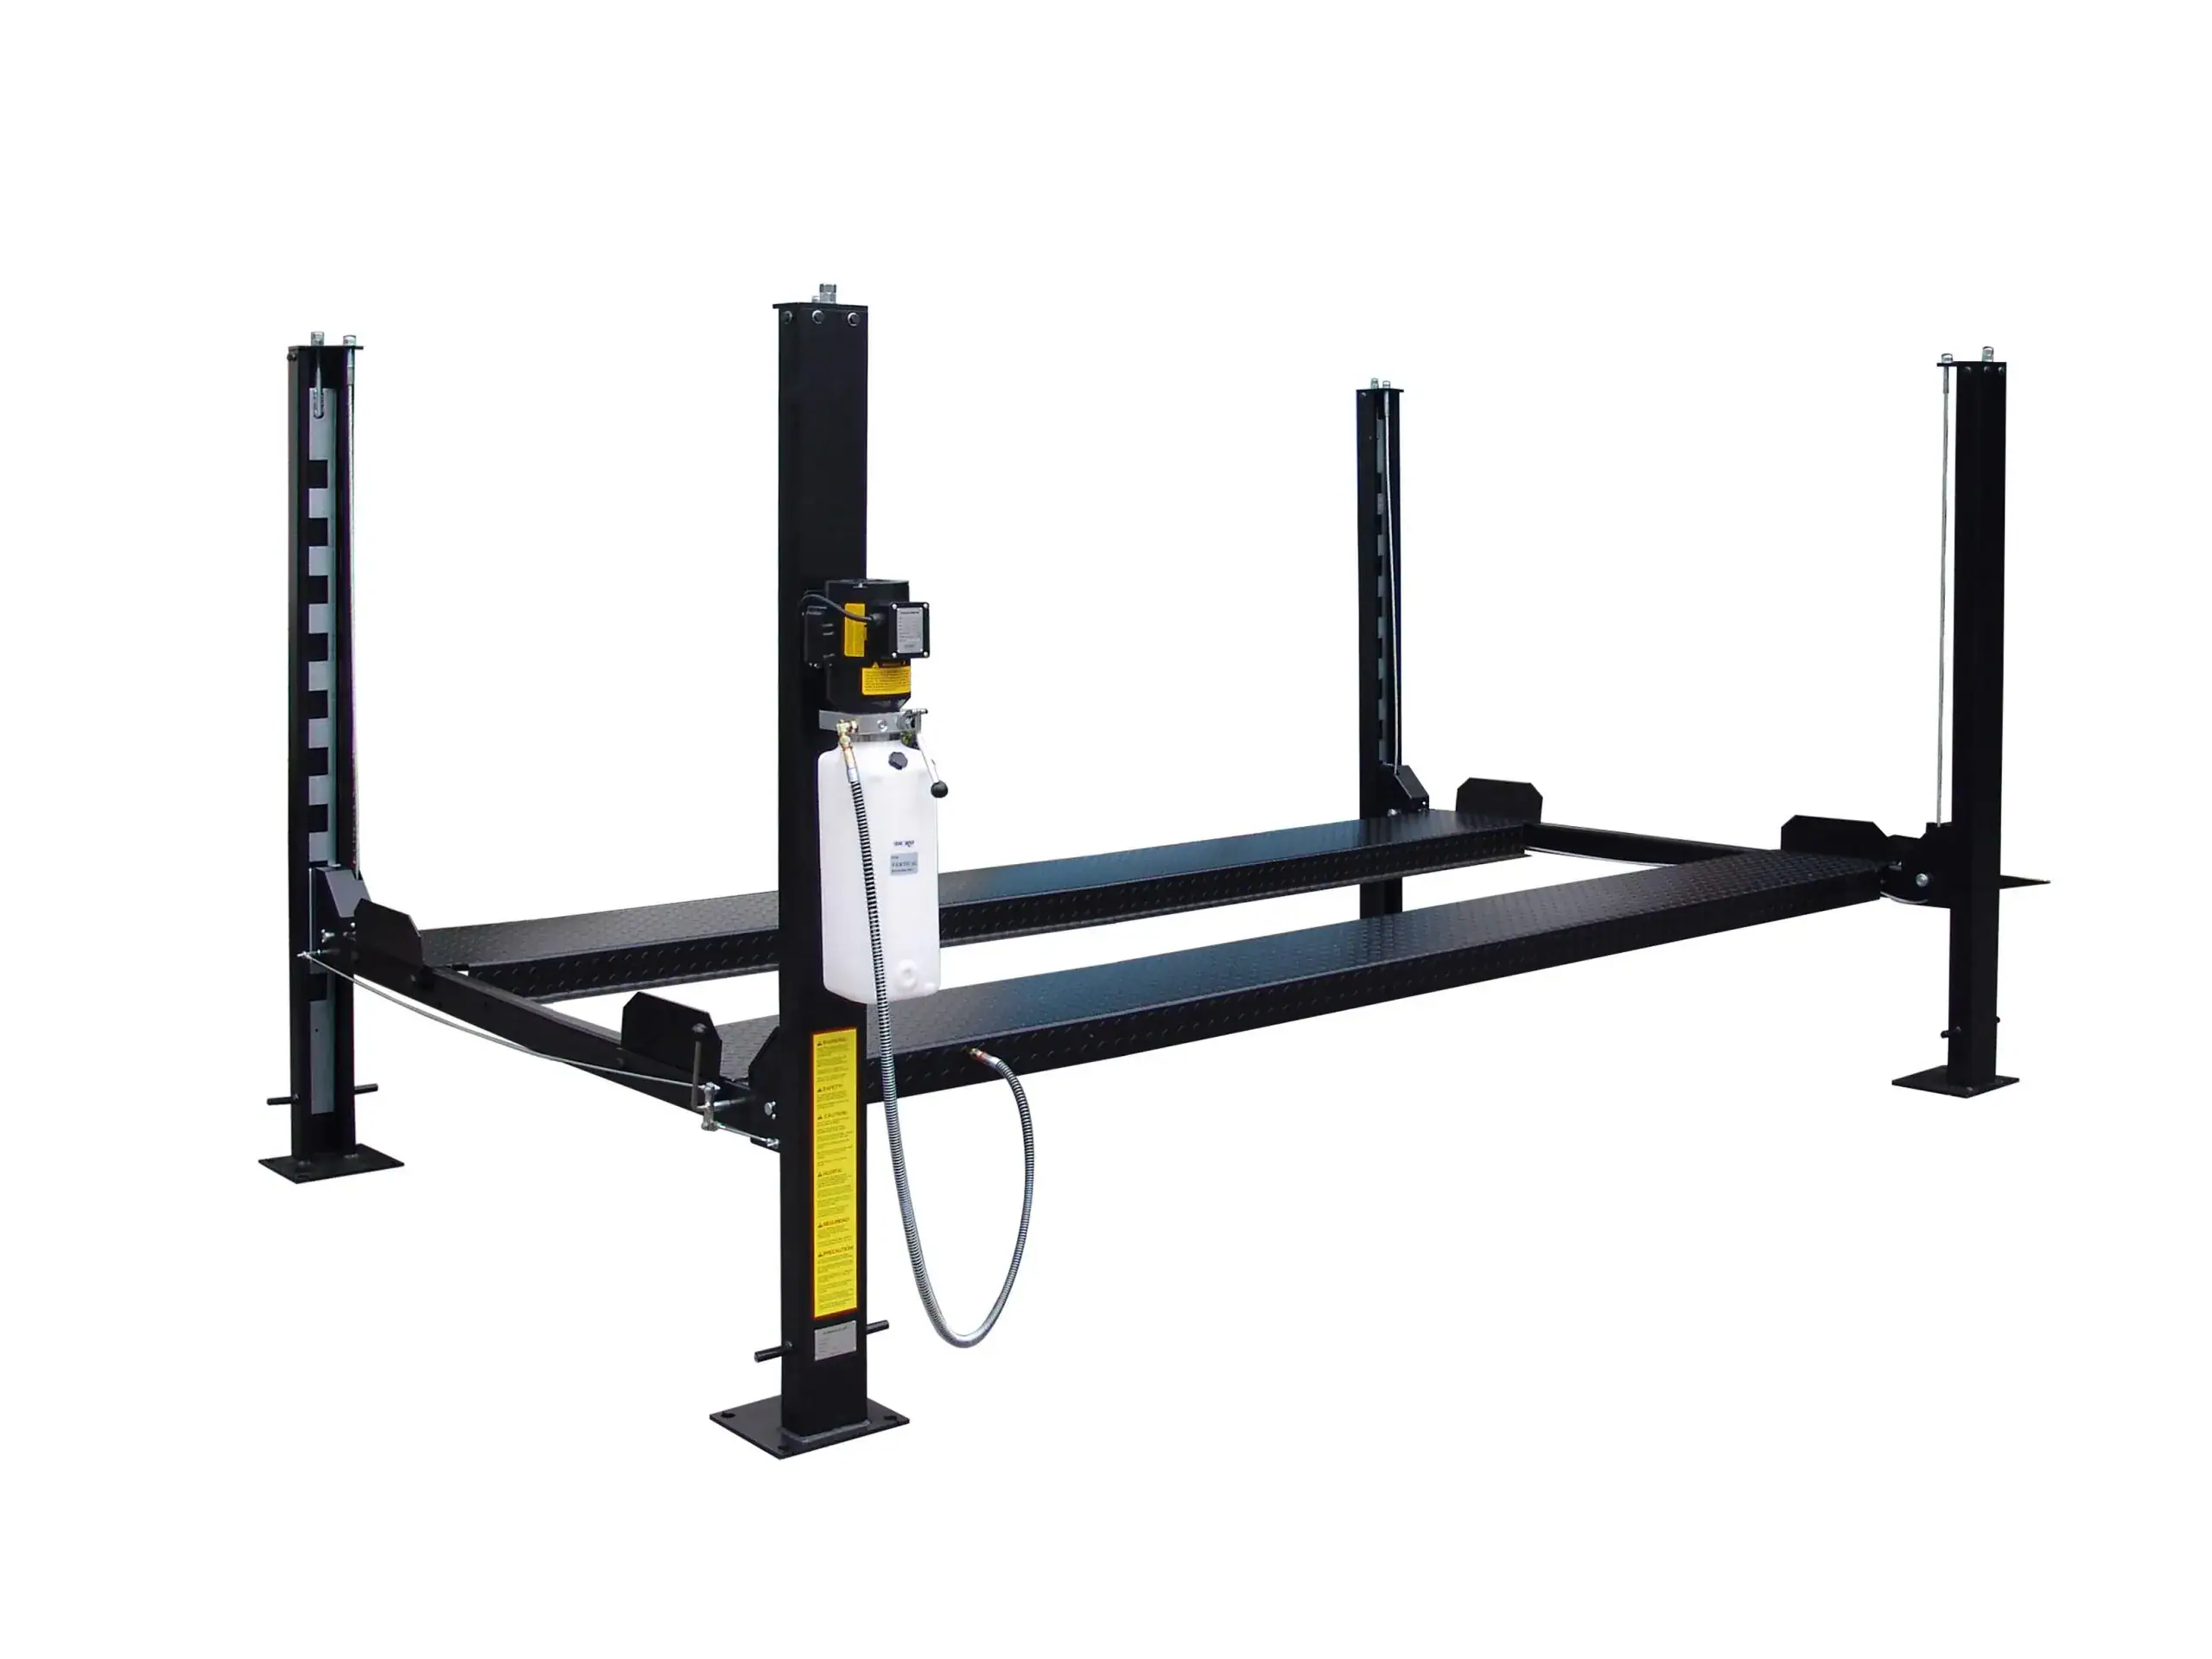
Now that you’ve got a solid understanding of how to tackle dents, scratches, and even rust like a pro, it’s time to make sure you have the right tools for the job. Whether you’re just starting out or looking to upgrade your shop, having quality equipment is key to getting those smooth, professional results you want. At KGM Equipment, you’ll find everything from dent pullers to frame machines designed for precision and durability. If you’re ready to put these expert tips into action and take your repairs to the next level, Shop Now.
