
Want to restore your car’s flawless finish or tackle collision damage with confidence? Learning the secrets of body work repair car can completely change the way you care for your vehicle.
This expert-driven guide will walk you through each step of body work repair car, ensuring you achieve professional results right in your own garage.
You will discover how to assess damage, prepare your workspace, fix dents and scratches, paint, finish, and choose the best tools for every job.
Ready to transform your skills and protect your investment? Follow these proven steps for the best outcomes.
Assessing Body Damage and Planning Repairs
Understanding how to assess and plan repairs is the foundation of a successful body work repair car project. Before reaching for any tools, knowing what you are dealing with ensures efficient repairs and lasting results.
Identifying Types of Car Body Damage
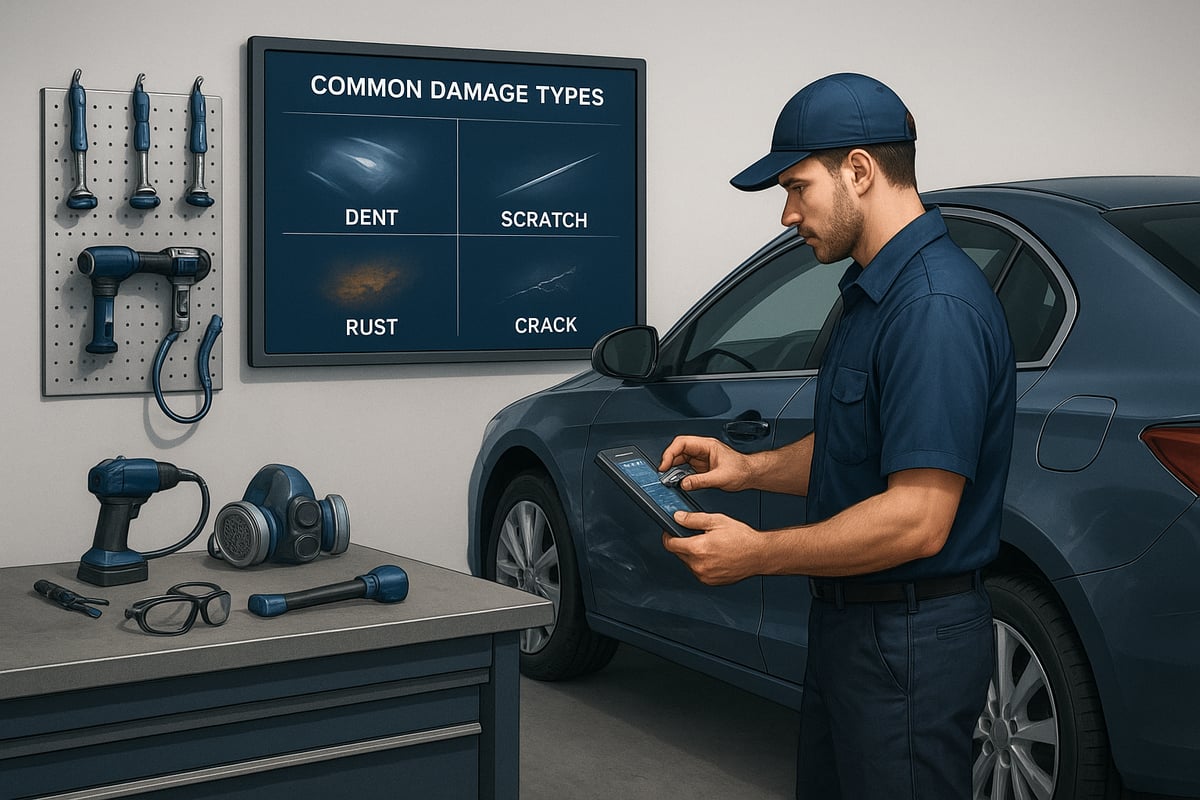
Every body work repair car project starts by pinpointing the exact type of damage. The most common issues include dents, scratches, rust, cracks, and deeper structural problems. Dents often result from parking lot mishaps, while scratches can be caused by keys, brushes, or minor collisions. Rust forms when paint chips expose metal to moisture, and cracks may indicate stress or age-related wear. More severe problems, like frame or structural damage, typically stem from high-impact accidents.
To help you visualize, here’s a quick table:
| Damage Type | Common Causes | Example |
|---|---|---|
| Dent | Shopping carts, doors | Minor door ding |
| Scratch | Branches, keys | Keyed door |
| Rust | Moisture, salt | Wheel arch corrosion |
| Crack | Stress, aging | Bumper split |
| Structural | Collisions | Frame misalignment |
By understanding the nature and origin of each issue, you can map out the right body work repair car approach for your situation.
Evaluating Severity and Repair Options
After identifying the type of damage, the next step in body work repair car assessment is to determine its severity. Minor dents and scratches are often perfect for DIY fixes, especially if safety is not compromised. However, any damage near airbags, sensors, or the vehicle’s frame should be evaluated by professionals.
Consider this: Over 70 percent of minor body repairs are now performed at home (AAA, 2023). Still, if you notice signs like uneven door gaps, airbag deployment, or structural misalignment, professional help is a must. These issues can impact vehicle safety and resale value.
Always weigh safety, your skill level, and the tools available before deciding to tackle a body work repair car job yourself.
Creating a Repair Plan
A well-structured repair plan streamlines your body work repair car process. Start with a thorough inspection, documenting all damage using photos and notes. This helps track progress and supports insurance claims if needed.
Next, source any required parts. For minor DIY repairs, expect average costs between $150 and $500. Professional repairs can range from $500 to over $2,000, depending on the extent of the damage. Use the table below for time estimates:
| Repair Size | DIY Time | Pro Shop Time |
|---|---|---|
| Small | 1-3 hrs | 1 day |
| Medium | 1-2 days | 2-3 days |
| Large | 3+ days | 1+ week |
Careful planning ensures your body work repair car efforts stay on budget and on schedule.
Gathering Information and Resources
Accessing the right resources is essential for a successful body work repair car outcome. Start with your vehicle’s OEM repair manual, which provides step-by-step instructions and safety protocols. Online forums and video tutorials offer real-world advice and troubleshooting tips.
For in-depth guides, expert tips, and the latest techniques, visit the Auto Body Repair Blog Insights. Maintaining accurate repair records not only helps with current work but also boosts your car’s resale value by demonstrating a well-documented maintenance history.
Example Scenario
Imagine you are faced with a 2022 sedan that has suffered rear quarter panel damage from a parking lot scrape. Your body work repair car assessment begins with a careful visual inspection, followed by checking for hidden issues like misaligned panels or compromised sensors.
Document every detail, estimate repair costs using the earlier table, and gather the necessary tools and materials. By following these systematic steps, you set yourself up for a smooth, professional-quality repair—whether handling it yourself or preparing for a shop visit.
Essential Tools and Materials for 2025 Body Work Repair
Achieving professional results in body work repair car projects requires the right mix of modern tools, quality materials, and strict safety measures. The right setup not only streamlines the process but also ensures your repairs meet 2025 standards.
Must-Have Tools for Modern Body Repair
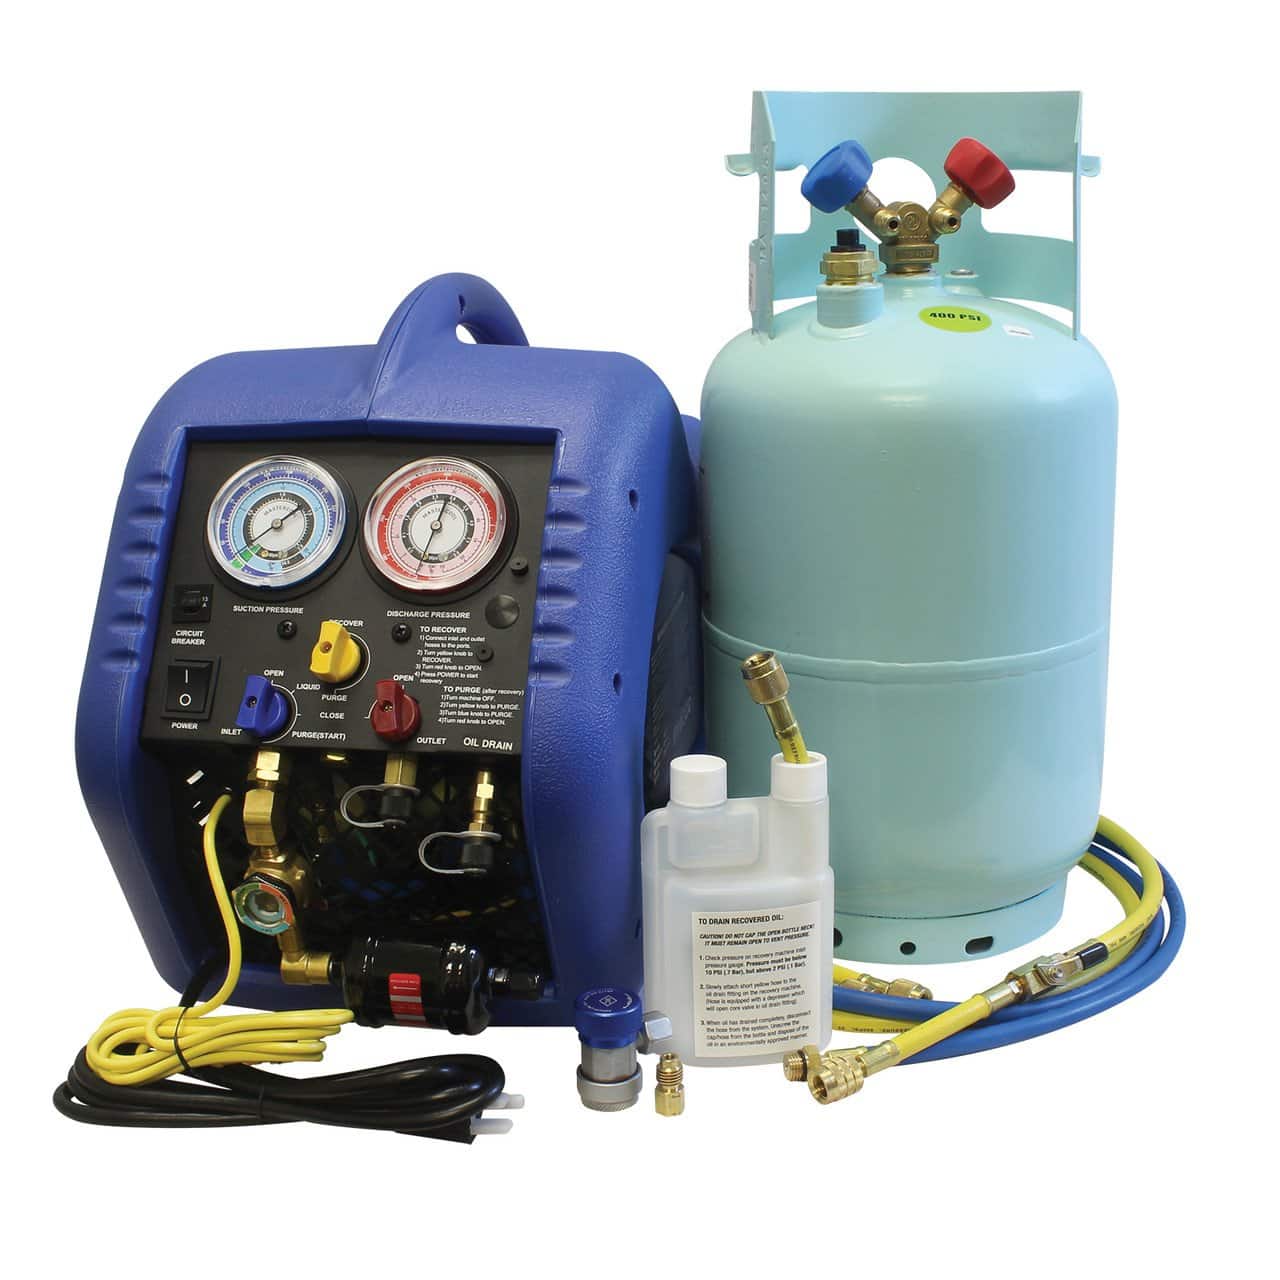
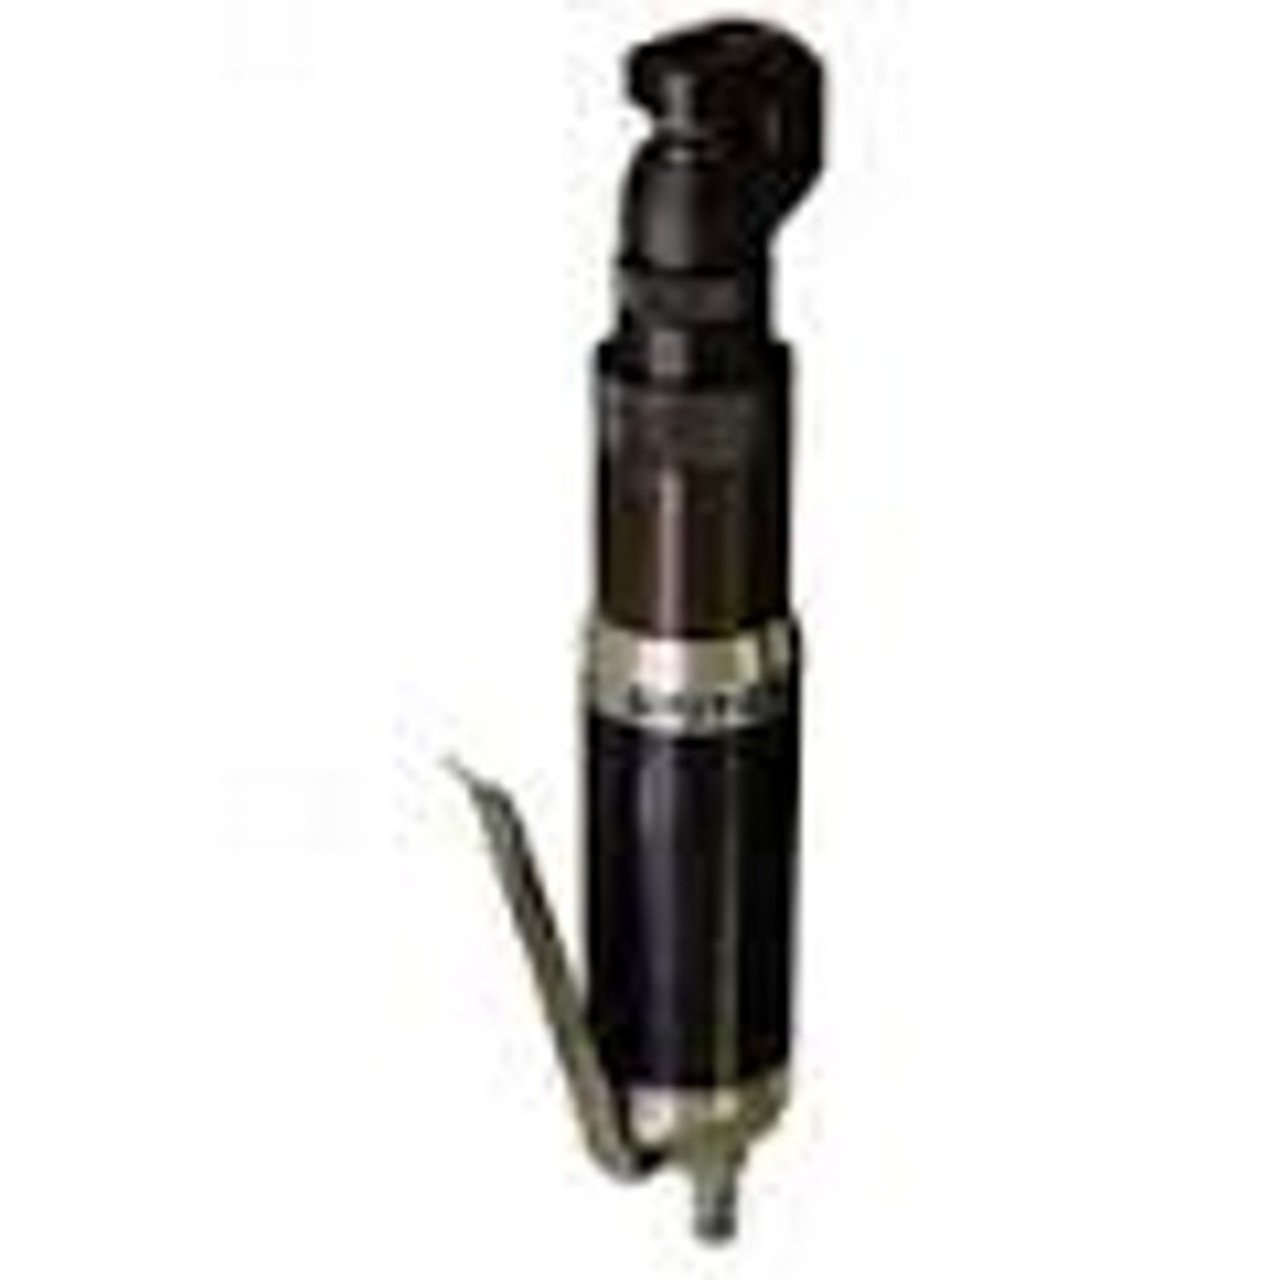
To excel at body work repair car tasks, you need an updated toolkit. Essentials include electric sanders, angle grinders, dent pullers, and MIG or spot welders. Paint sprayers, both traditional and HVLP, deliver smooth finishes.
For 2025, digital paint matching tools and smart measuring systems are game-changers. For example, a digital thickness gauge ensures you do not over-sand panels, preserving their integrity. Safety gear—masks, gloves, and goggles—remains non-negotiable for every repair.
Materials and Consumables
Every body work repair car job depends on the right consumables. Stock up on multi-purpose fillers, high-build primers, automotive paints, and clear coats. Rust inhibitors are critical for long-term protection.
Eco-friendly options are now standard. Look for low-VOC paints and waterborne products that comply with new regulations. Advanced materials, like flexible fillers and corrosion-resistant primers, improve both durability and finish.
Tool Selection Tips
Not all body work repair car projects require the same tools. For minor scratches, a simple sanding block and touch-up kit may suffice. Larger jobs, like full panel replacements, need specialty equipment such as frame machines or welders.
Consider whether to buy or rent certain tools. Renting advanced tech, like digital measuring systems, can save money if you do not use them regularly. Always match your tool choice to the scope and complexity of the repair.
Safety and Compliance
Safety should always be the top priority during any body work repair car process. Wear PPE: respirators, gloves, and eye protection. Ensure your workspace is well-ventilated to minimize exposure to fumes and dust.
Stay up-to-date with 2025 safety and environmental regulations. This year, VOC emissions standards are stricter, so choose materials and processes that align with these rules. Proper disposal of chemicals and recycling of materials is also essential.
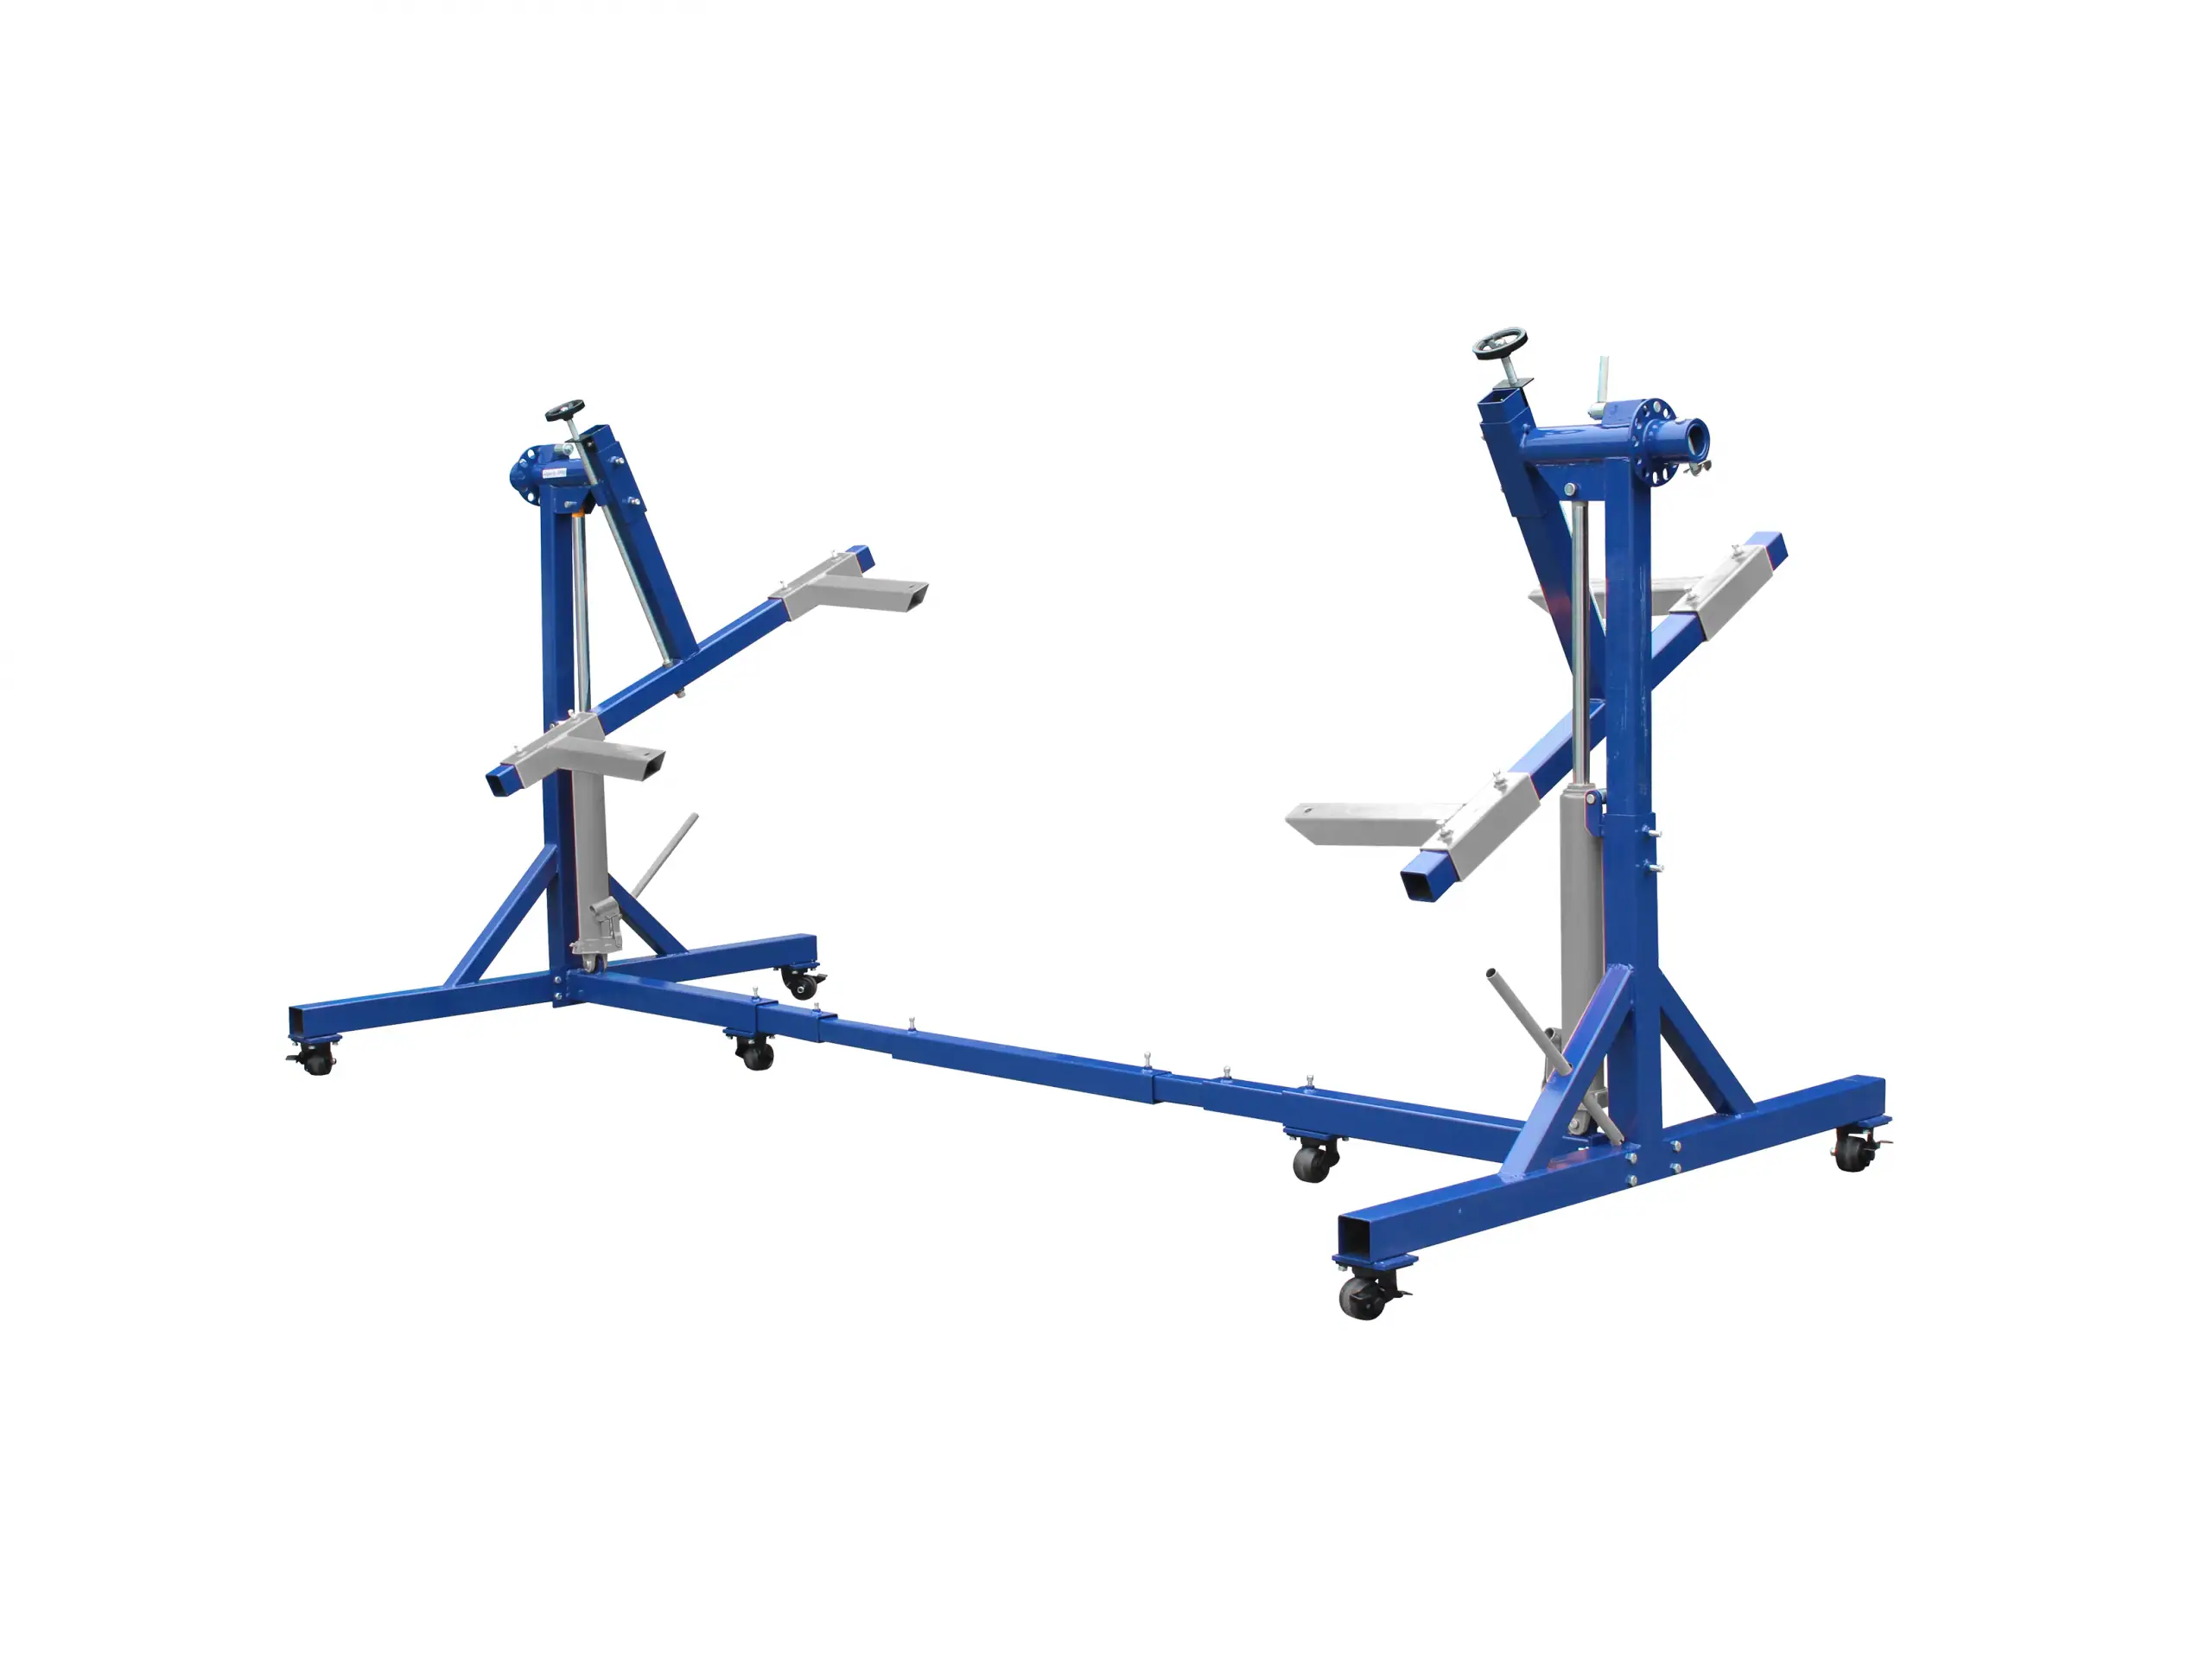
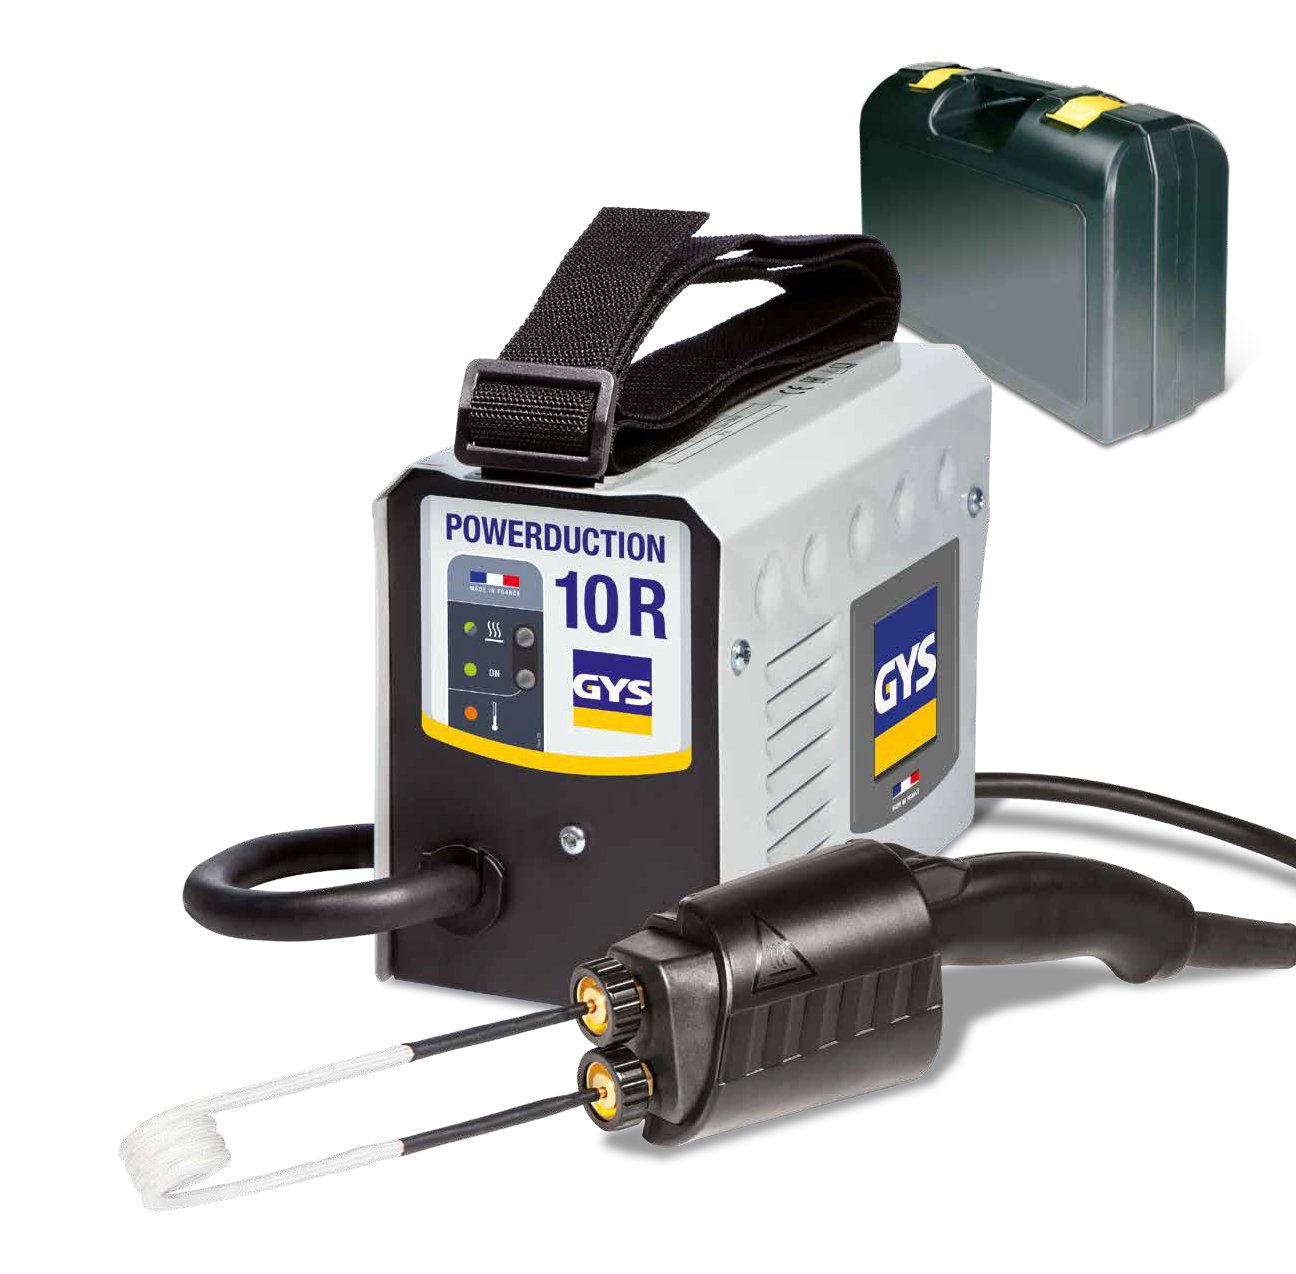
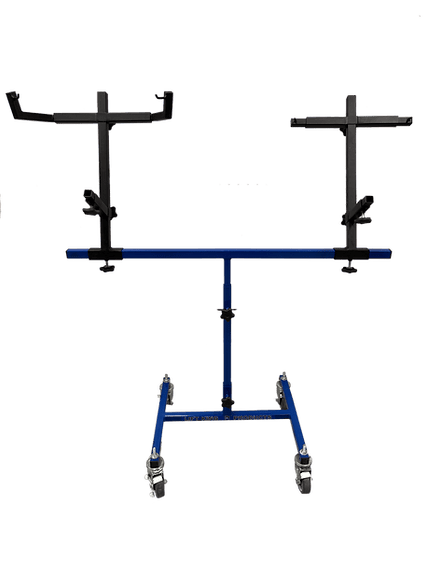
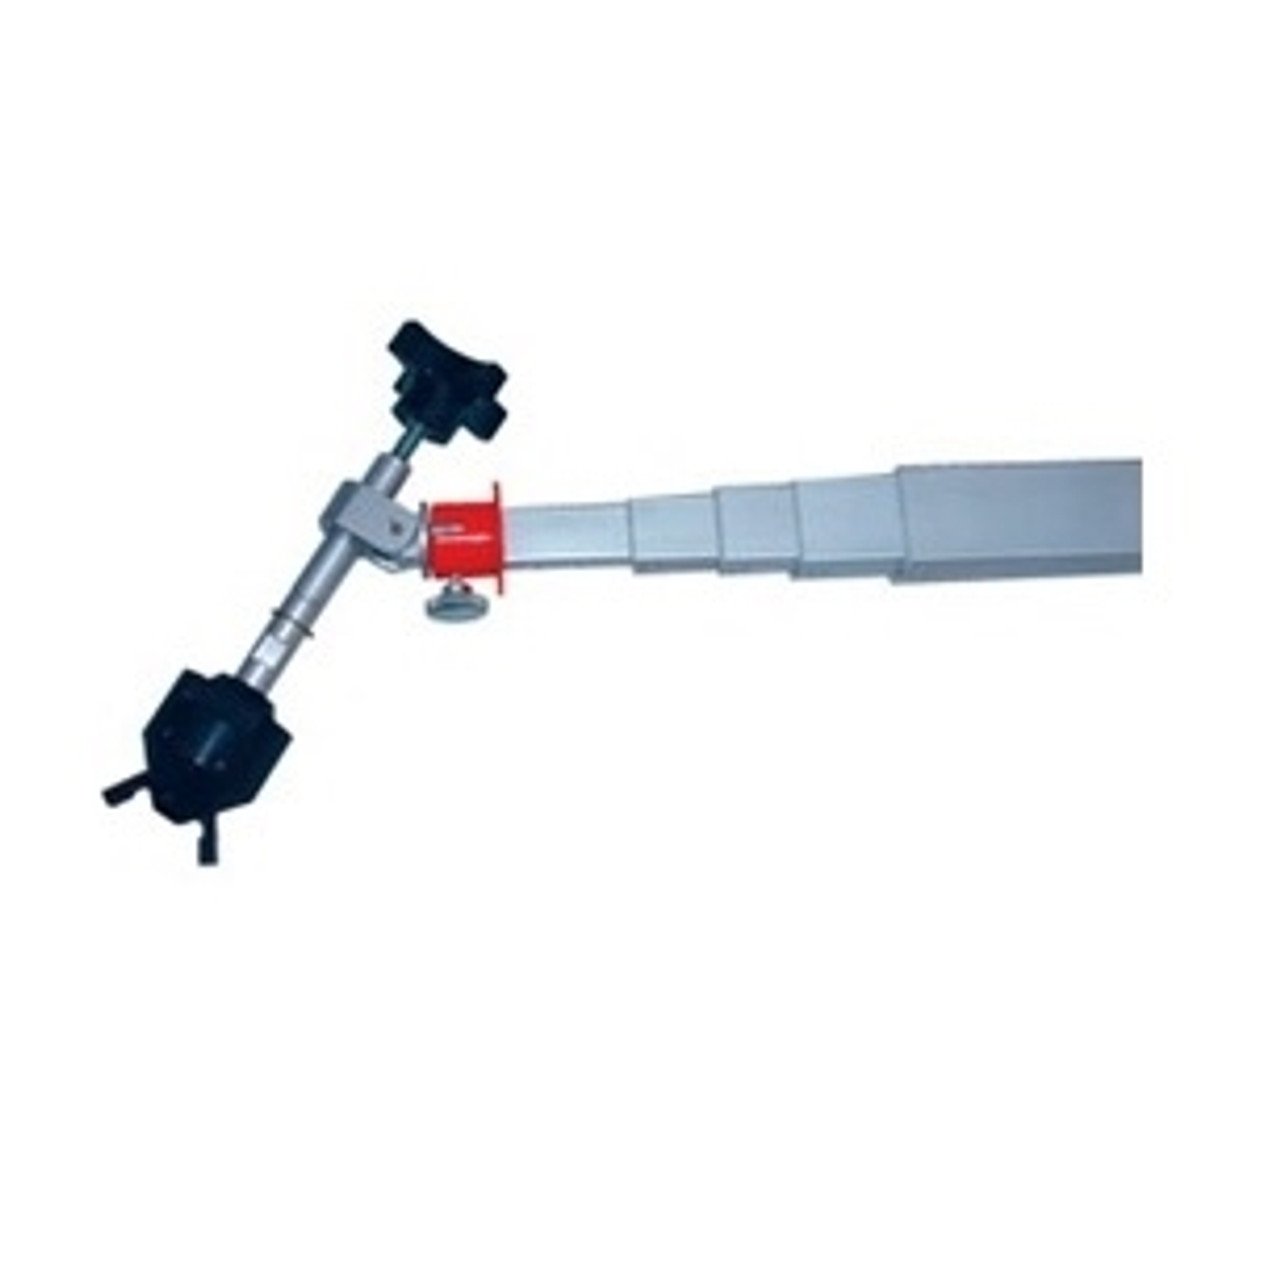
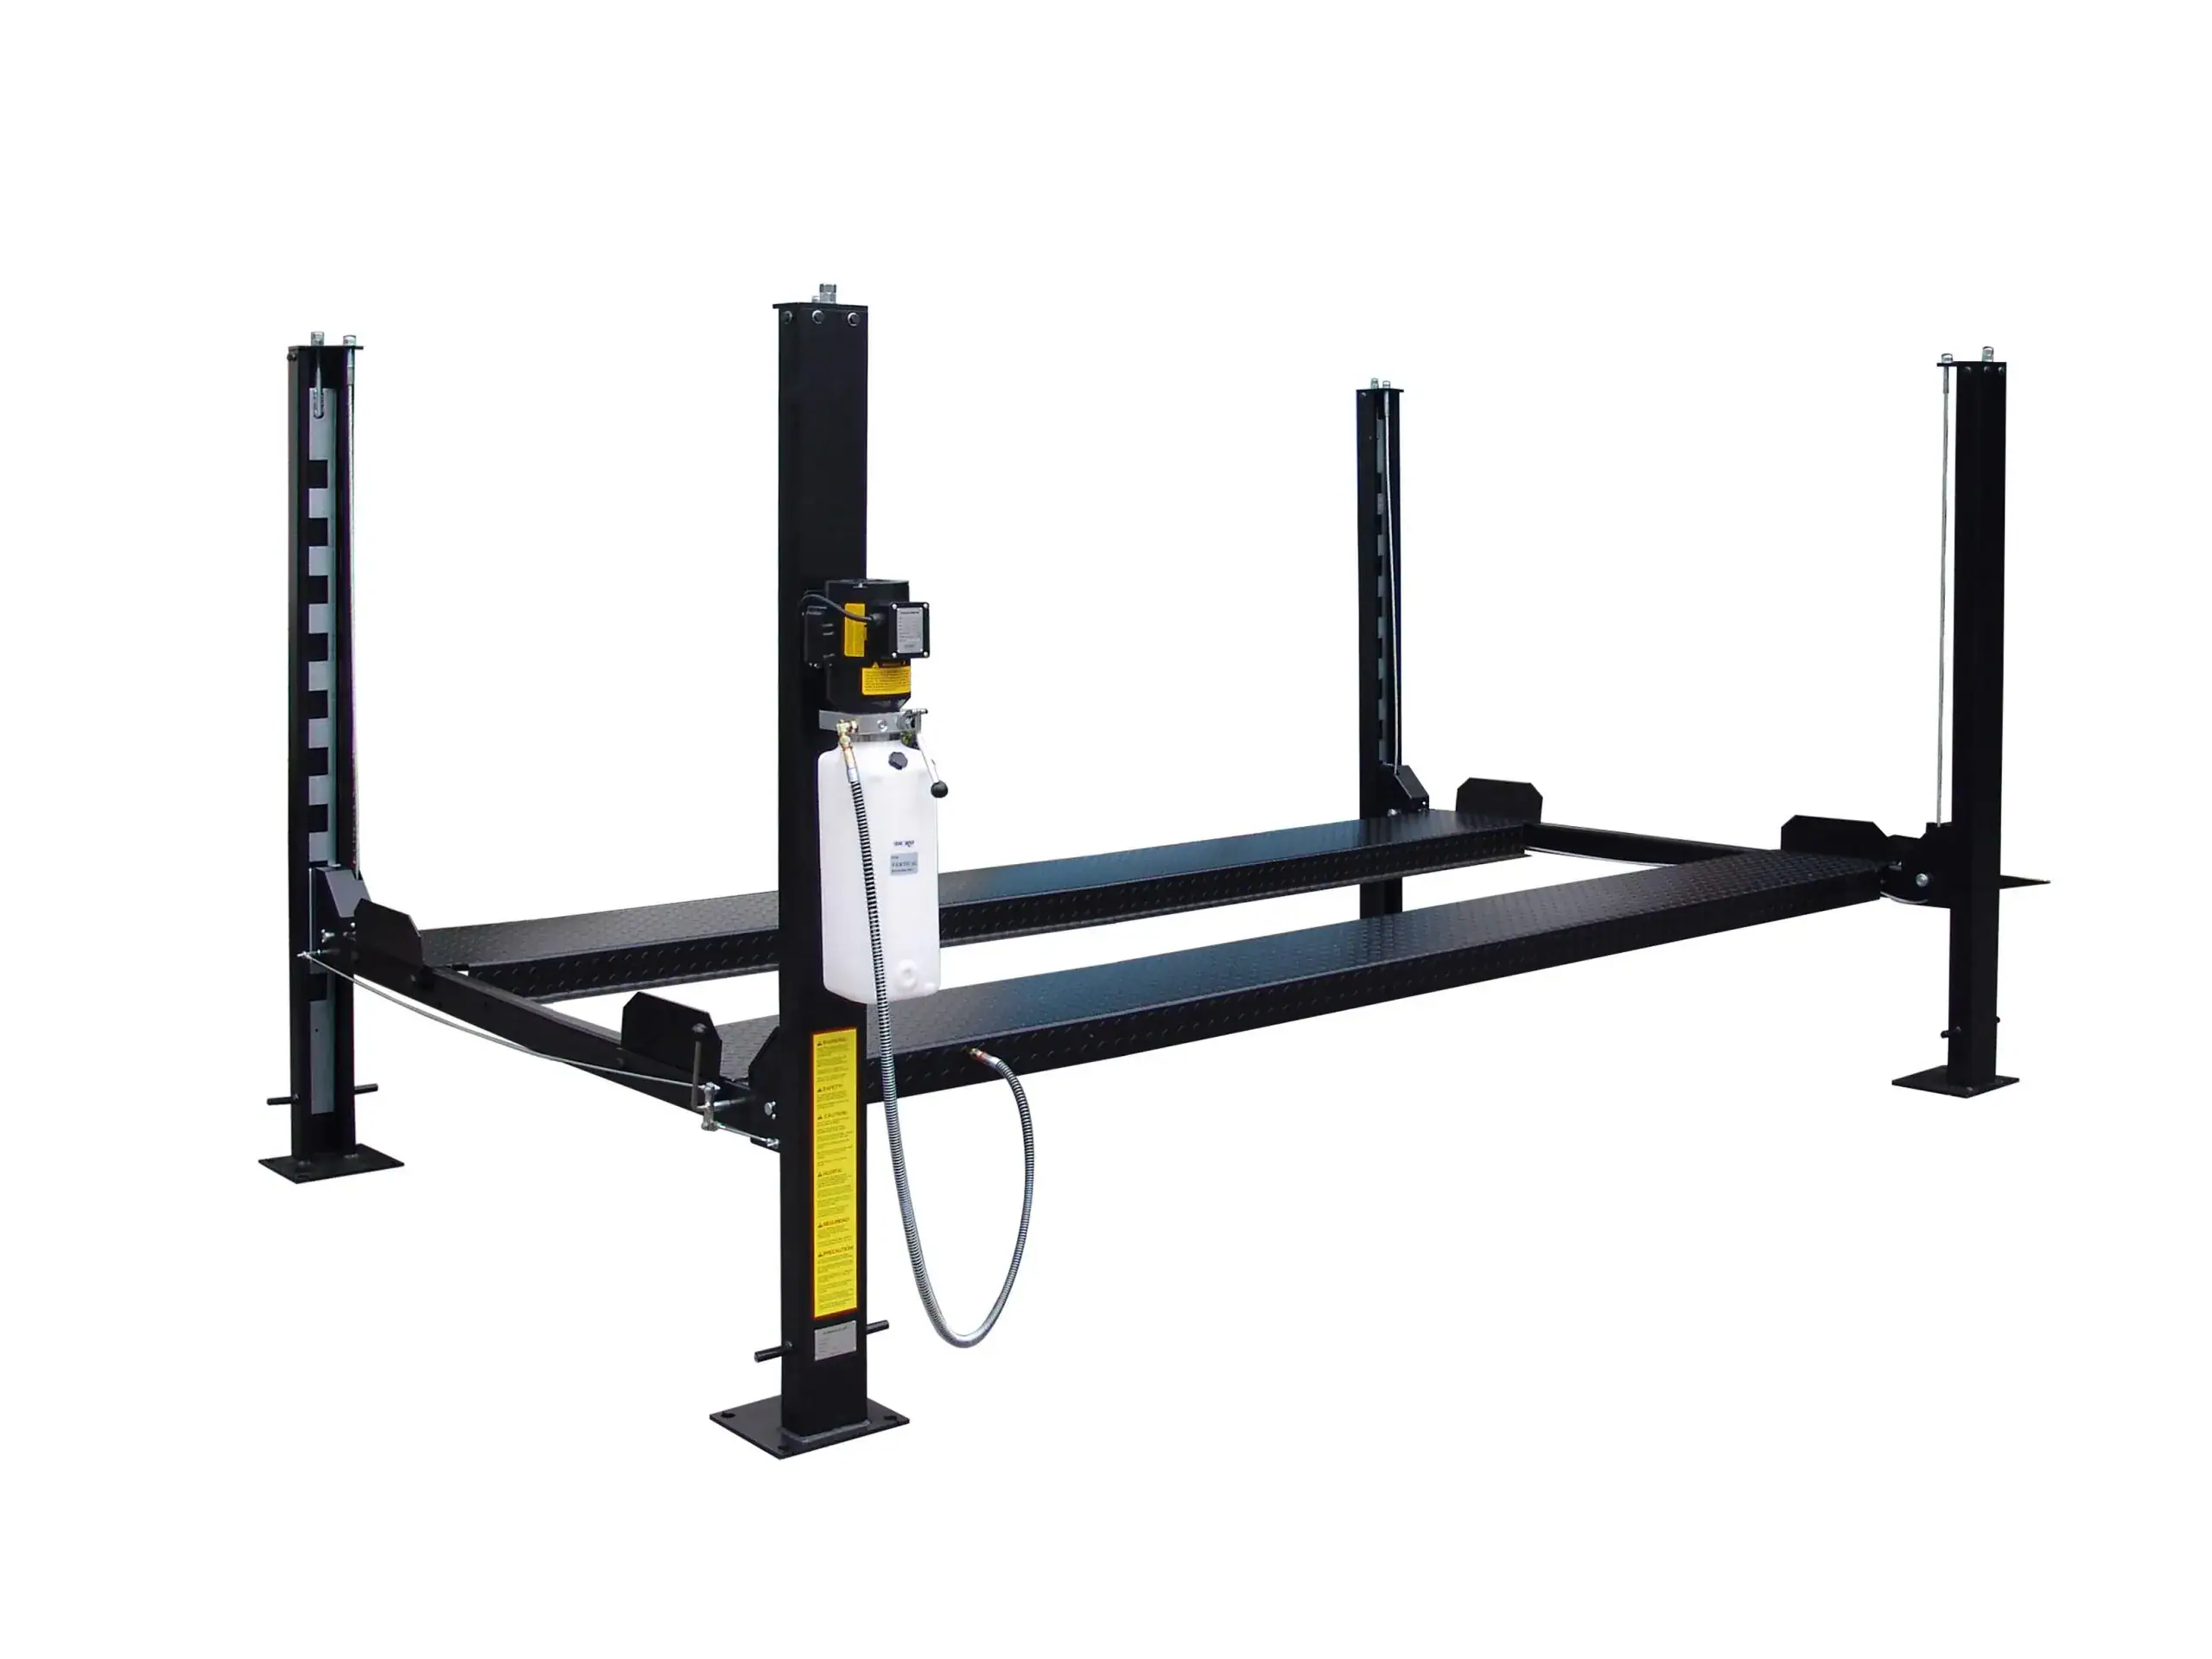
KGM Equipment: Your Collision Repair Tool Partner
For those seeking professional-grade solutions for body work repair car projects, KGM Equipment offers a wide selection of frame machines, dent pullers, welders, and more. Their lineup supports both traditional and electric vehicle repairs.
KGM’s featured tools include the GYS2600 Dent Puller, which extracts dents rapidly, and the Induction Innovations Glass Blaster for safe windshield removal. For a comprehensive overview of available tools, visit their Essential Automotive Repair Tools page. KGM also provides online support, access to top brands, and flexible financing for shop upgrades.
Step-by-Step Body Work Repair Process
Mastering the body work repair car process means following a precise, methodical workflow. Whether you are tackling a minor dent or a major collision repair, these steps ensure you achieve professional results every time. Let’s break down each phase for clarity and success.
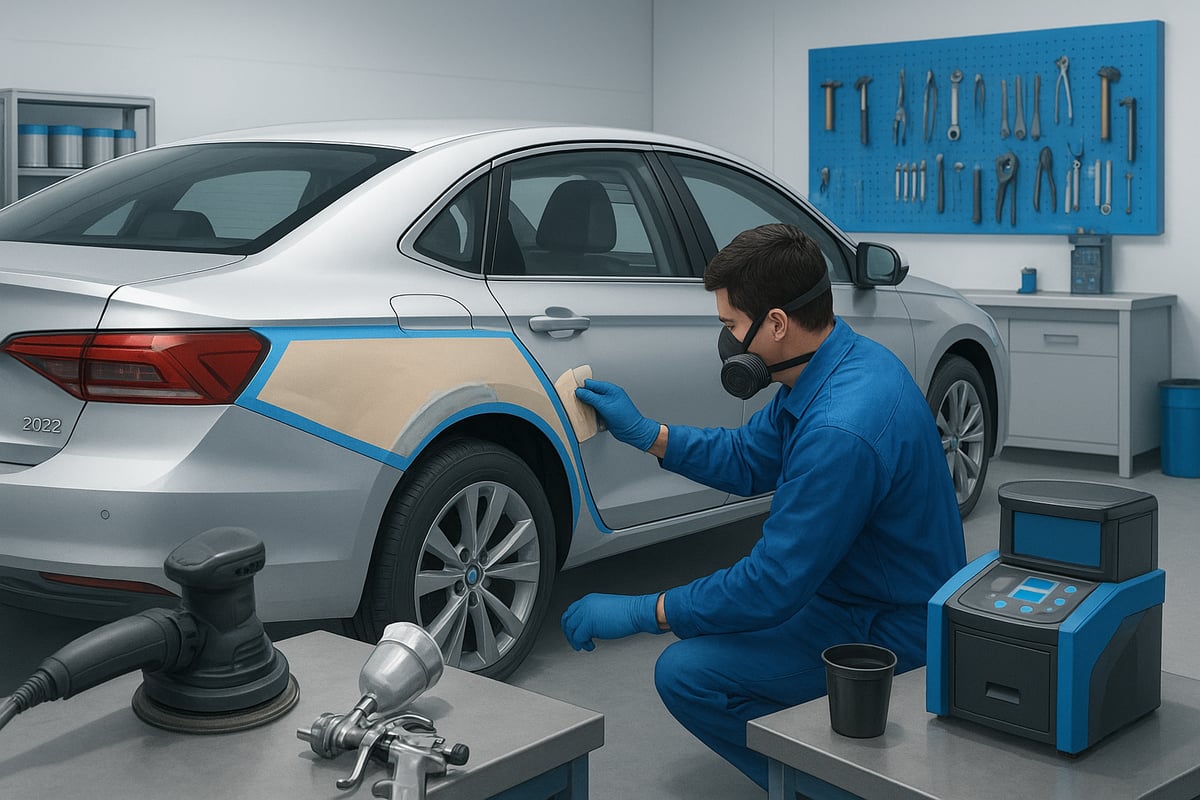
Step 1: Preparing the Work Area and Vehicle
Preparation is the foundation of a flawless body work repair car job. Start by cleaning the vehicle’s exterior with automotive soap to remove dirt and debris. Degrease the area using a dedicated cleaner, as any oil or residue can compromise adhesion.
Next, secure the car in a well-ventilated, dust-free workspace. Use wheel chocks and lift the vehicle if necessary for better access. Mask off all unaffected areas using high-quality automotive tape and plastic sheeting. This prevents overspray and accidental scratches.
Here’s a quick checklist for setup:
- Clean and degrease the surface thoroughly.
- Secure the vehicle and set up adequate lighting.
- Mask all areas not being repaired.
- Organize tools and safety equipment for efficiency.
Proper preparation not only improves the quality of your body work repair car project but also protects the car’s finish throughout the process.
Step 2: Removing Damaged Components
Safe and systematic removal of damaged parts is crucial in body work repair car projects. Begin by disconnecting the car battery, especially if working near airbags or electronic sensors. This reduces the risk of accidental deployment or electrical shorts.
Remove bumpers, trim, or panels using plastic pry tools and screwdrivers. Keep track of fasteners with labeled containers. If the repair involves areas with airbags or ADAS sensors, refer to the OEM manual for correct procedures.
For modern vehicles, pay attention to hidden connectors and wiring harnesses. Carefully remove any sensors or cameras and store them safely. This step ensures you avoid further damage and makes reassembly smoother after the body work repair car process.
Step 3: Repairing Dents and Surface Damage
Address dents using the right tools for your body work repair car task. For shallow dents, paintless dent repair (PDR) tools and suction cups can often restore the panel without the need for fillers. Slide hammers and dent pullers are useful for deeper dents.
When filler is required, mix it according to manufacturer instructions and apply it in thin layers. Allow each layer to cure before sanding with a fine-grit block. Use a digital thickness gauge to ensure even sanding and maintain original panel contours.
PDR is effective for up to 90% of shallow dents, saving time and preserving the original paint. Always wear safety gear, including gloves and a mask, while sanding or filling during your body work repair car project.
Step 4: Addressing Scratches, Rust, and Corrosion
Surface scratches and rust must be addressed promptly in body work repair car work to prevent further deterioration. Sand affected areas with increasing grit, starting from coarse for deep scratches and feathering out to fine for blending.
For rust, use a wire brush or chemical rust remover. If corrosion has caused holes, patch with fiberglass or metal mesh before applying body filler. Always treat the area with a rust inhibitor to prevent future damage.
A two-stage rust repair is often used for wheel arches: first remove rust, then apply primer and filler. This ensures the longevity of your body work repair car, especially in high-exposure zones.
Step 5: Priming and Painting
Priming and painting are where your body work repair car truly comes to life. Choose primers based on the surface: etching primer for bare metal, plastic primer for bumpers, and epoxy for aluminum. Apply primer in thin, even coats, allowing full drying between layers.
For color, use a digital paint matching system to find the exact shade. Apply base coat, color coat, then clear coat with a modern HVLP spray gun for smooth, even coverage. Always paint in a clean, ventilated booth to avoid dust and debris.
For top-tier results, select high-quality products like those found at Auto Body Paint Solutions, which offer a wide range of automotive paints and coatings suited for all types of body work repair car projects.
Step 6: Finishing and Polishing
The finishing stage gives your body work repair car that showroom shine. Begin with wet sanding using ultra-fine grit to level out any imperfections in the clear coat. Always keep the surface wet to avoid scratches.
Next, buff the area with a polishing compound using a dual-action polisher. This removes micro-scratches and enhances gloss. For added protection, apply a ceramic coating or high-quality wax.
Here’s a quick before-and-after comparison for clarity:
| Finish Stage | Gloss Level | Protection |
|---|---|---|
| Before Polishing | Low | Minimal |
| After Polishing | High | Good |
| Ceramic Coating | Maximum | Excellent |
Careful finishing ensures the long-term durability and aesthetics of your body work repair car.
Step 7: Reassembly and Final Inspection
Reassembly is the final critical step in any body work repair car project. Reattach all components carefully, ensuring panels align perfectly with consistent gaps. Reconnect any sensors, wiring, or airbags according to OEM guidelines.
Perform a thorough inspection of the repaired area. Check for paint imperfections, panel alignment, and secure fasteners. Use a checklist to verify each step, including electrical connections and sensor calibration if needed.
A meticulous final inspection guarantees that your body work repair car is not only visually flawless but also safe and fully functional.
Advanced Techniques and Technology in 2025 Body Work
Staying ahead in the body work repair car field means embracing the latest tools and methods. In 2025, advanced technology is transforming how shops and DIYers achieve flawless, lasting results. From innovative dent repair to eco-friendly materials, these trends are shaping the future of collision and cosmetic repairs.

Paintless Dent Repair (PDR) Innovations
Paintless dent repair has become a cornerstone of modern body work repair car processes. In 2025, PDR tools are more sophisticated than ever, allowing technicians to fix dents on aluminum and high-strength steel panels.
New magnetic induction PDR systems use controlled heat to reshape metal without affecting paint. These tools work exceptionally well on complex curves, reducing the need for fillers and repainting. The result is faster turnaround, lower costs, and a finish that looks untouched. For car owners, this means minor dings and hail damage can often be resolved in hours, not days.
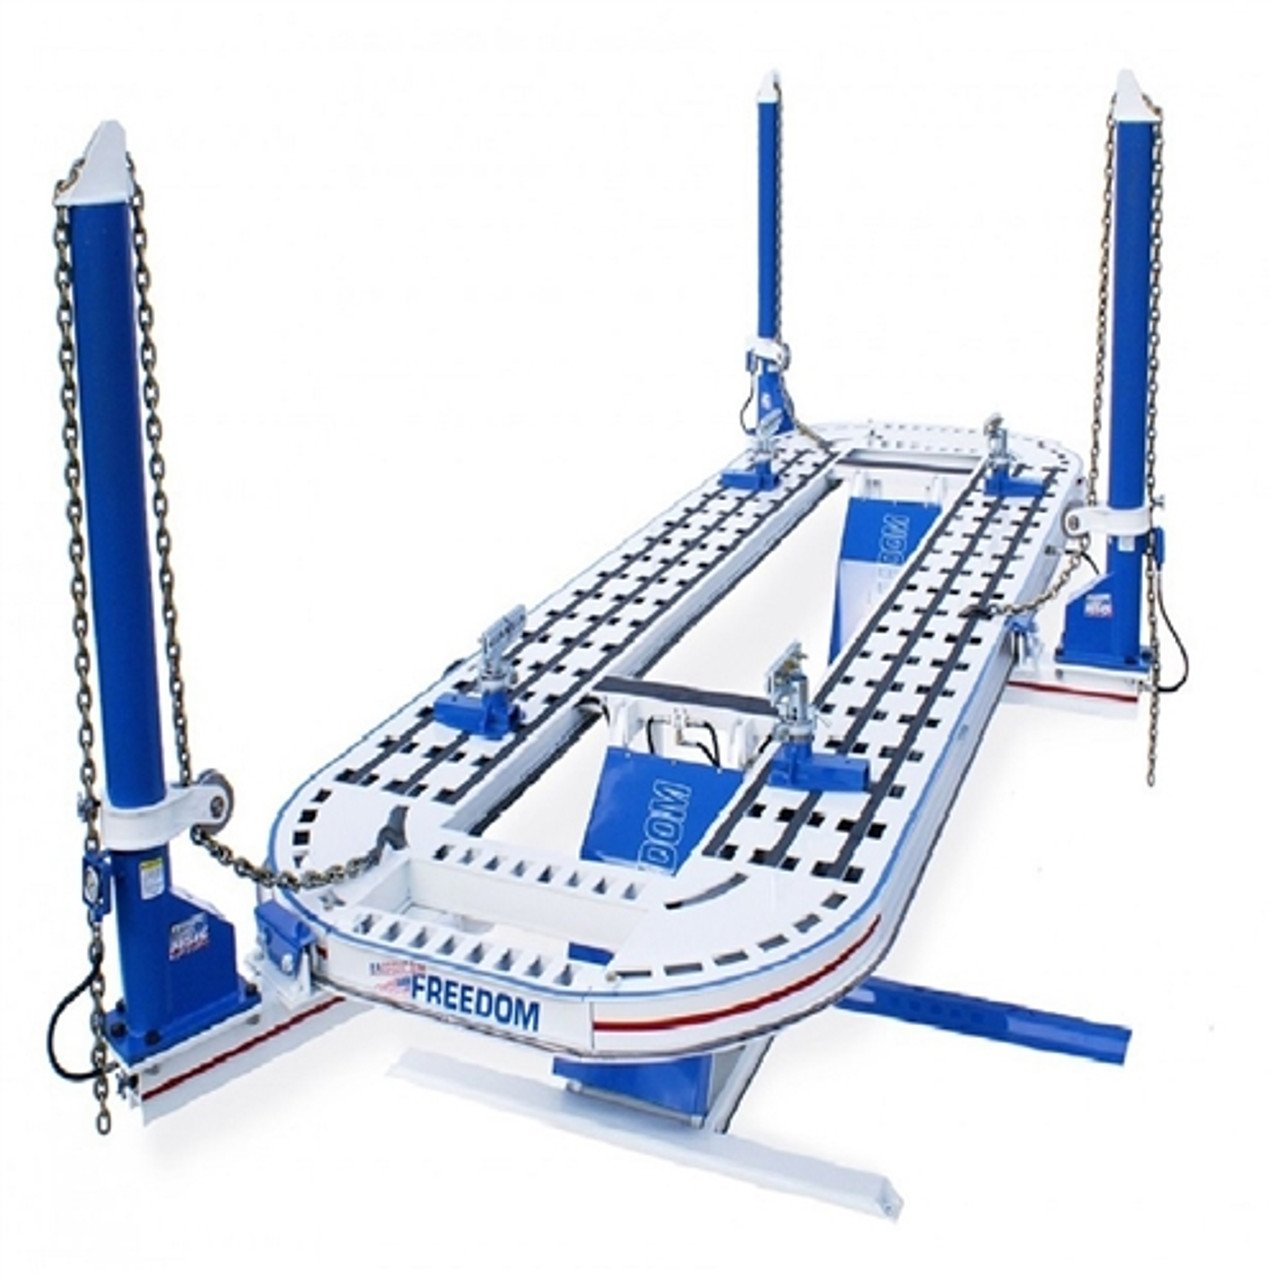
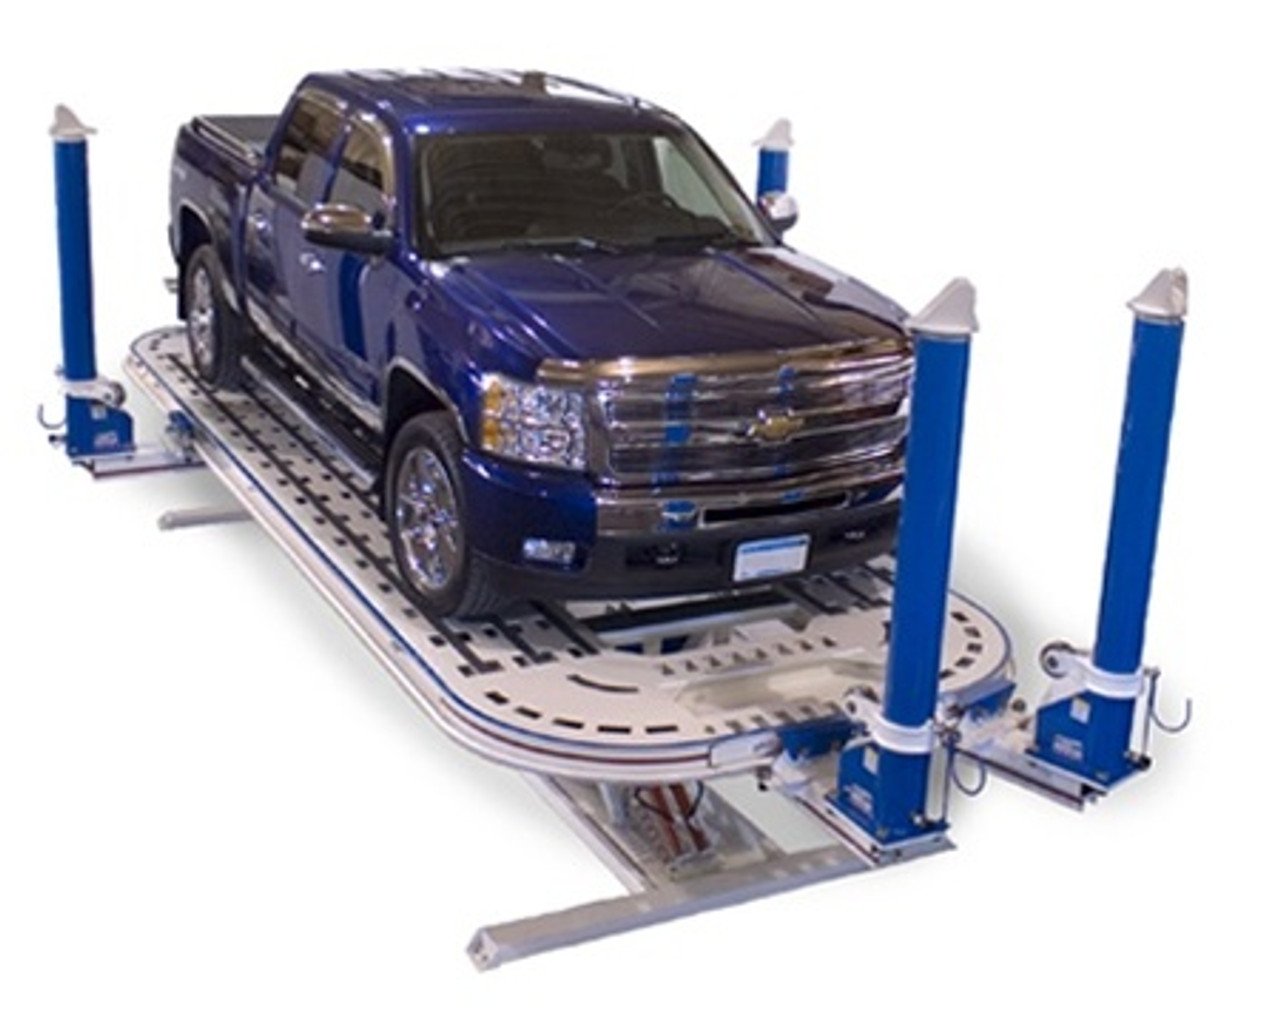
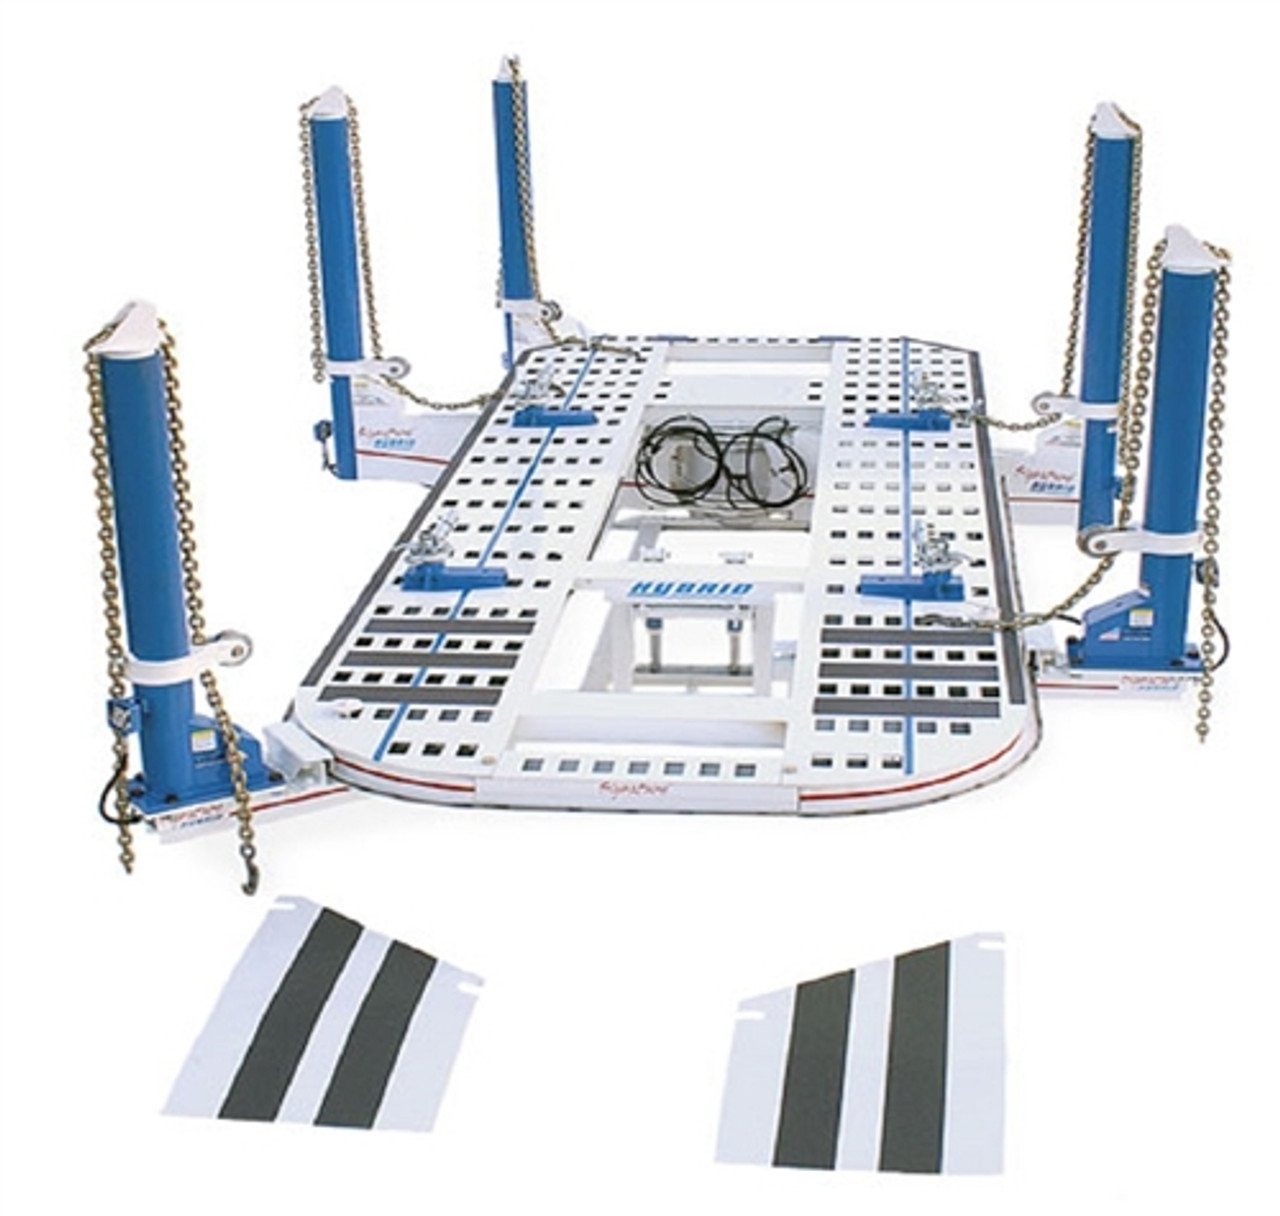
Digital Measuring and Frame Alignment
Accurate measurement is crucial for structural repairs in any body work repair car project. Modern shops now use laser and 3D scanning systems to map a vehicle’s frame and body with millimeter precision.
These technologies help identify even subtle misalignments after a collision, ensuring repairs meet manufacturer specifications. For example, 3D frame measuring systems cut error rates by up to 40 percent, dramatically improving safety and resale value. This level of precision was once reserved for high-end facilities, but in 2025, it’s becoming standard in both professional and advanced home garages.
Welding and Bonding Modern Materials
Today’s vehicles use a mix of high-strength steel, aluminum, and composite panels. That’s why body work repair car techniques now include specialized welding and adhesive bonding.
Welding equipment must be compatible with these modern materials. For example, pulse MIG welders and precision spot welders allow for safe, strong joints on aluminum and steel. Adhesive bonding is increasingly popular for plastic and mixed-material panels, reducing heat distortion and preserving structural integrity. Shops must train staff on these new processes to avoid compromising safety or finish quality.
Smart Paint Matching and Application
Achieving a seamless finish is a top priority in any body work repair car job. AI-powered color scanners now analyze paint chips and match new paint with extreme accuracy. This minimizes the risk of mismatched panels and visible repairs.
Automated spray booths ensure even application and consistent results, saving time and materials. As noted in 2023 Collision Repair Industry Trends, these technological advances are changing industry standards and expectations. The combination of smart matching and automation means faster, higher-quality repairs for both shops and DIYers.
Eco-Friendly and Sustainable Practices
Environmental responsibility is a major focus for body work repair car specialists in 2025. Waterborne paints have largely replaced traditional solvents, reducing harmful emissions. Low-VOC products and advanced filtration systems help shops comply with strict EPA guidelines.
Recycling old panels, using reusable masking materials, and investing in energy-efficient equipment all contribute to greener operations. These sustainable practices not only benefit the planet but also appeal to eco-conscious customers seeking responsible repair options.
Common Mistakes and How to Avoid Them
Avoiding mistakes in body work repair car is crucial for achieving professional results and preventing costly rework. With the collision repair industry generating $43 billion annually, even minor errors can have a significant impact on quality and value. Let’s explore the most common pitfalls and how to steer clear of them.
Inadequate Surface Preparation
One of the most frequent mistakes in body work repair car is neglecting proper surface prep. Skipping steps like cleaning, sanding, or masking can lead to paint peeling, bubbling, or uneven finishes. For example, failing to remove all contaminants before painting often results in poor adhesion and visible imperfections.
How to avoid it:
- Always wash and degrease the area.
- Sand thoroughly with the right grit.
- Mask off all unaffected panels and trim.
Taking time with these basics ensures the repair blends seamlessly with the original finish.
Incorrect Tool or Material Use
Using the wrong products or tools during body work repair car can compromise the entire project. Common missteps include applying the wrong type of filler, mixing products incorrectly, or using an unsuitable sander. These errors often cause cracking, shrinking, or mismatched finishes.
Tips to prevent this:
- Match fillers and paints to your car’s materials.
- Follow manufacturer instructions for mixing and application.
- Choose tools designed for the specific repair task.
Investing a little extra time in selecting the right equipment pays off in durability and appearance.
Ignoring Safety Protocols
Ignoring safety during body work repair car is not only risky—it’s a leading cause of injuries. Many DIYers skip PPE like gloves, masks, or eye protection, or fail to ventilate the workspace. According to the National Safety Council, 15% of DIY auto repair injuries are from not using PPE.
Stay safe by:
- Wearing a respirator, gloves, and goggles.
- Ventilating your workspace well.
- Storing chemicals and tools properly.
Protecting yourself is just as important as protecting your vehicle.
Rushing the Repair Process
Impatience is a recipe for failure in body work repair car. Not allowing enough time for fillers, primers, or paint to cure properly often leads to defects like bubbling, sagging, or poor adhesion. Prematurely reassembling parts can also ruin a fresh finish.
Best practices include:
- Following recommended drying and curing times.
- Checking product labels for timing guidance.
- Inspecting each stage before moving on.
Patience ensures each layer bonds correctly, resulting in a long-lasting repair.
Overlooking Advanced Features
Modern vehicles are packed with sensors and electronics that require special attention during body work repair car. Failing to recalibrate ADAS systems or realign cameras after repairs can cause malfunctions, affecting safety.
Avoid this by:
- Checking for features like lane assist or parking sensors.
- Recalibrating systems after panel or bumper repairs.
- Consulting OEM manuals for reset procedures.
Stay up to date with technology to maintain both performance and safety.
Maintaining Your Car’s Finish After Repair
Keeping your car looking flawless after a body work repair car project takes more than just a great fix. It is all about smart care routines and attention to detail. Follow these steps to make your repair last and your vehicle shine.
Proper Curing and Initial Care
After any body work repair car, let the new paint cure fully. Avoid washing or waxing your vehicle for at least 30 days. During this time, park in a shaded area if possible. This helps the finish harden and prevents early damage.
Routine Cleaning and Protection
Regular cleaning keeps your body work repair car looking new. Use pH-neutral soaps and soft microfiber towels to avoid scratches. Applying a ceramic coating or wax every few months protects the paint. Studies show regular waxing extends paint life by up to 25 percent.
Spot Repair and Touch-Up Tips
Small chips and scratches can lead to rust if ignored. Tackle these quickly using a DIY touch-up kit matched to your car’s paint. Always clean and dry the area before applying paint. This step prevents bigger problems down the road.
Preventive Measures
Defend your body work repair car finish by parking away from trees and crowded lots. Use a car cover when parked outside. Consider installing paint protection film to reduce the risk of chips and scratches by as much as 70 percent.
Now that you’ve got a step by step roadmap for tackling body work repair like a pro in 2025, you might be wondering where to get the right tools to bring your skills to life. We’ve talked about the importance of using reliable, high quality equipment—whether you’re fixing a dent, doing precision welding, or just prepping for a flawless paint job. If you want to make sure you have everything you need for professional results, take a look at the range of tools and support available from KGM Equipment. You’ll find everything from frame machines to advanced dent pullers—just Shop Now.
